Setup and Reference Guide - Kollmorgen
Setup and Reference Guide - Kollmorgen
Setup and Reference Guide - Kollmorgen

You also want an ePaper? Increase the reach of your titles
YUMPU automatically turns print PDFs into web optimized ePapers that Google loves.
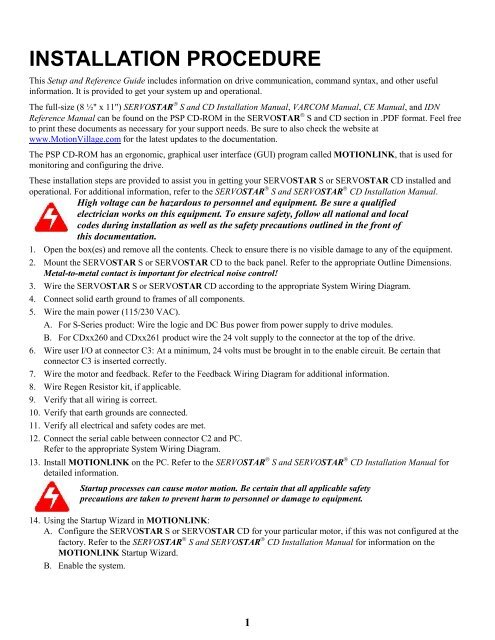
INSTALLATION PROCEDURE<br />
This <strong>Setup</strong> <strong>and</strong> <strong>Reference</strong> <strong>Guide</strong> includes information on drive communication, comm<strong>and</strong> syntax, <strong>and</strong> other useful<br />
information. It is provided to get your system up <strong>and</strong> operational.<br />
The full-size (8 ½" x 11") SERVOSTAR ® S <strong>and</strong> CD Installation Manual, VARCOM Manual, CE Manual, <strong>and</strong> IDN<br />
<strong>Reference</strong> Manual can be found on the PSP CD-ROM in the SERVOSTAR ® S <strong>and</strong> CD section in .PDF format. Feel free<br />
to print these documents as necessary for your support needs. Be sure to also check the website at<br />
www.MotionVillage.com for the latest updates to the documentation.<br />
The PSP CD-ROM has an ergonomic, graphical user interface (GUI) program called MOTIONLINK, that is used for<br />
monitoring <strong>and</strong> configuring the drive.<br />
These installation steps are provided to assist you in getting your SERVOSTAR S or SERVOSTAR CD installed <strong>and</strong><br />
operational. For additional information, refer to the SERVOSTAR ® S <strong>and</strong> SERVOSTAR ® CD Installation Manual.<br />
High voltage can be hazardous to personnel <strong>and</strong> equipment. Be sure a qualified<br />
electrician works on this equipment. To ensure safety, follow all national <strong>and</strong> local<br />
codes during installation as well as the safety precautions outlined in the front of<br />
this documentation.<br />
1. Open the box(es) <strong>and</strong> remove all the contents. Check to ensure there is no visible damage to any of the equipment.<br />
2. Mount the SERVOSTAR S or SERVOSTAR CD to the back panel. Refer to the appropriate Outline Dimensions.<br />
Metal-to-metal contact is important for electrical noise control!<br />
3. Wire the SERVOSTAR S or SERVOSTAR CD according to the appropriate System Wiring Diagram.<br />
4. Connect solid earth ground to frames of all components.<br />
5. Wire the main power (115/230 VAC).<br />
A. For S-Series product: Wire the logic <strong>and</strong> DC Bus power from power supply to drive modules.<br />
B. For CDxx260 <strong>and</strong> CDxx261 product wire the 24 volt supply to the connector at the top of the drive.<br />
6. Wire user I/O at connector C3: At a minimum, 24 volts must be brought in to the enable circuit. Be certain that<br />
connector C3 is inserted correctly.<br />
7. Wire the motor <strong>and</strong> feedback. Refer to the Feedback Wiring Diagram for additional information.<br />
8. Wire Regen Resistor kit, if applicable.<br />
9. Verify that all wiring is correct.<br />
10. Verify that earth grounds are connected.<br />
11. Verify all electrical <strong>and</strong> safety codes are met.<br />
12. Connect the serial cable between connector C2 <strong>and</strong> PC.<br />
Refer to the appropriate System Wiring Diagram.<br />
13. Install MOTIONLINK on the PC. Refer to the SERVOSTAR ® S <strong>and</strong> SERVOSTAR ® CD Installation Manual for<br />
detailed information.<br />
Startup processes can cause motor motion. Be certain that all applicable safety<br />
precautions are taken to prevent harm to personnel or damage to equipment.<br />
14. Using the Startup Wizard in MOTIONLINK:<br />
A. Configure the SERVOSTAR S or SERVOSTAR CD for your particular motor, if this was not configured at the<br />
factory. Refer to the SERVOSTAR ® S <strong>and</strong> SERVOSTAR ® CD Installation Manual for information on the<br />
MOTIONLINK Startup Wizard.<br />
B. Enable the system.<br />
1