Line 6 Bass POD xt Live User Manual - MIDI Manuals
Line 6 Bass POD xt Live User Manual - MIDI Manuals
Line 6 Bass POD xt Live User Manual - MIDI Manuals
- No tags were found...

Create successful ePaper yourself
Turn your PDF publications into a flip-book with our unique Google optimized e-Paper software.
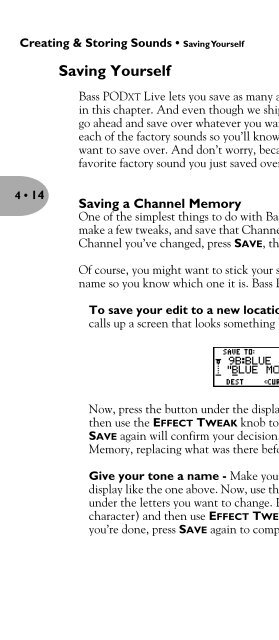
Creating & Storing Sounds • Saving YourselfSaving Yourself<strong>Bass</strong> <strong>POD</strong>XT <strong>Live</strong> lets you save as many as 64 tones that you create as described earlierin this chapter. And even though we ship it to you chock full of some of our favorites,go ahead and save over whatever you want. We recommend spending some time witheach of the factory sounds so you’ll know which you want to keep, and which you’llwant to save over. And don’t worry, because we’ll soon show you how to recall thatfavorite factory sound you just saved over and simply have to get back.4 • 14Saving a Channel MemoryOne of the simplest things to do with <strong>Bass</strong> <strong>POD</strong>XT <strong>Live</strong> is call up a Channel Memory,make a few tweaks, and save that Channel without changing its name. To simply save aChannel you’ve changed, press SAVE, then SAVE again. That’s it.Of course, you might want to stick your sound somewhere else, or at least change thename so you know which one it is. <strong>Bass</strong> <strong>POD</strong>XT <strong>Live</strong> lets you do that just as easily.To save your edit to a new location - Make your edits, then press SAVE. Thiscalls up a screen that looks something like this:Now, press the button under the display that reads DEST (short for destination) andthen use the EFFECT TWEAK knob to pick a different Channel Memory. PressingSAVE again will confirm your decision, and save your sound to that ChannelMemory, replacing what was there before.Give your tone a name - Make your edits, then press SAVE. Again, you’ll see adisplay like the one above. Now, use the CURSOR < and > buttons to move the cursorunder the letters you want to change. Press the button under CHAR (short forcharacter) and then use EFFECT TWEAK to change the selected character. Whenyou’re done, press SAVE again to complete the job. See, that wasn’t so bad.