Create successful ePaper yourself
Turn your PDF publications into a flip-book with our unique Google optimized e-Paper software.
Chapter 3. Upgrading to Multilanguage<br />
18<br />
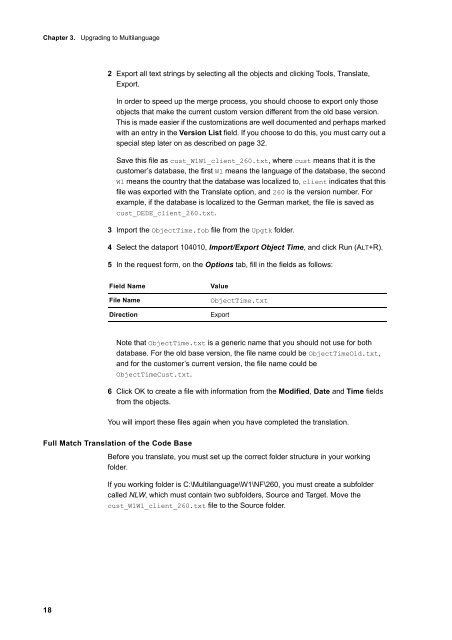
2 Export all text strings by selecting all the objects and clicking Tools, Translate,<br />
Export.<br />
In order to speed up the merge process, you should choose to export only those<br />
objects that make the current custom version different from the old base version.<br />
This is made easier if the customizations are well documented and perhaps marked<br />
with an entry in the Version List field. If you choose to do this, you must carry out a<br />
special step later on as described on page 32.<br />
Save this file as cust_W1W1_client_260.txt, where cust means that it is the<br />
customer’s database, the first W1 means the language of the database, the second<br />
W1 means the country that the database was localized to, client indicates that this<br />
file was exported with the Translate option, and 260 is the version number. For<br />
example, if the database is localized to the German market, the file is saved as<br />
cust_DEDE_client_260.txt.<br />
3 Import the ObjectTime.fob file from the Upgtk folder.<br />
4 Select the dataport 104010, Import/Export Object Time, and click Run (ALT+R).<br />
5 In the request form, on the Options tab, fill in the fields as follows:<br />
Field Name Value<br />
File Name ObjectTime.txt<br />
Direction Export<br />
Note that ObjectTime.txt is a generic name that you should not use for both<br />
database. For the old base version, the file name could be ObjectTimeOld.txt,<br />
and for the customer’s current version, the file name could be<br />
ObjectTimeCust.txt.<br />
6 Click OK to create a file with information from the Modified, Date and Time fields<br />
from the objects.<br />
You will import these files again when you have completed the translation.<br />
Full Match Translation of the Code Base<br />
Before you translate, you must set up the correct folder structure in your working<br />
folder.<br />
If you working folder is C:\Multilanguage\W1\NF\260, you must create a subfolder<br />
called NLW, which must contain two subfolders, Source and Target. Move the<br />
cust_W1W1_client_260.txt file to the Source folder.


