

FONIX® FP35 Touch - Frye Electronics
FONIX® FP35 Touch - Frye Electronics
FONIX® FP35 Touch - Frye Electronics

You also want an ePaper? Increase the reach of your titles
YUMPU automatically turns print PDFs into web optimized ePapers that Google loves.
Calibration 213<br />
1. Press [MENU] from the Opening Screen to enter the Default Settings Menu.<br />
2. Press [NEXT].<br />
3. Use the arrow keys to set the USER LEVEL to ADVANCED.<br />
4. Press [EXIT] to return to the Opening Screen.<br />
5. Press [F3] to enter the Coupler Multicurve Mode from the Opening Screen.<br />
6. Use [F4] to choose NORM.<br />
7. Press [MENU].<br />
8. Set REF MIC to OFF, if necessary, using the arrow keys. (This menu item will<br />
not appear on all analyzers.)<br />
9. Press [NEXT] to enter the Advanced Menu. Set STATIC TONE to SINGLE.<br />
10. Press [EXIT] to return to the Coupler Multicurve<br />
Screen.<br />
11. Press [] repeatedly until the single tone is<br />
turned off.<br />
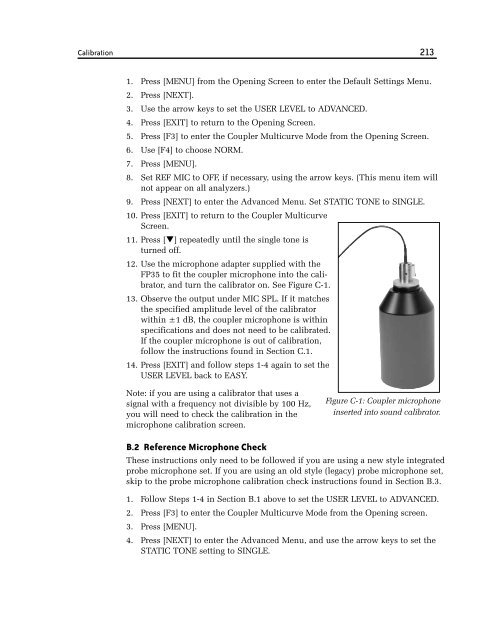
12. Use the microphone adapter supplied with the<br />
<strong>FP35</strong> to fit the coupler microphone into the calibrator,<br />
and turn the calibrator on. See Figure C-1.<br />
13. Observe the output under MIC SPL. If it matches<br />
the specified amplitude level of the calibrator<br />
within ±1 dB, the coupler microphone is within<br />
specifications and does not need to be calibrated.<br />
If the coupler microphone is out of calibration,<br />
follow the instructions found in Section C.1.<br />
14. Press [EXIT] and follow steps 1-4 again to set the<br />
USER LEVEL back to EASY.<br />
Note: if you are using a calibrator that uses a<br />
signal with a frequency not divisible by 100 Hz,<br />
you will need to check the calibration in the<br />
microphone calibration screen.<br />
B.2 Reference Microphone Check<br />
Figure C-1: Coupler microphone<br />
inserted into sound calibrator.<br />
These instructions only need to be followed if you are using a new style integrated<br />
probe microphone set. If you are using an old style (legacy) probe microphone set,<br />
skip to the probe microphone calibration check instructions found in Section B.3.<br />
1. Follow Steps 1-4 in Section B.1 above to set the USER LEVEL to ADVANCED.<br />
2. Press [F3] to enter the Coupler Multicurve Mode from the Opening screen.<br />
3. Press [MENU].<br />
4. Press [NEXT] to enter the Advanced Menu, and use the arrow keys to set the<br />
STATIC TONE setting to SINGLE.


