RoadRunner Owner's Manual - Data I/O Corporation
RoadRunner Owner's Manual - Data I/O Corporation
RoadRunner Owner's Manual - Data I/O Corporation

Create successful ePaper yourself
Turn your PDF publications into a flip-book with our unique Google optimized e-Paper software.
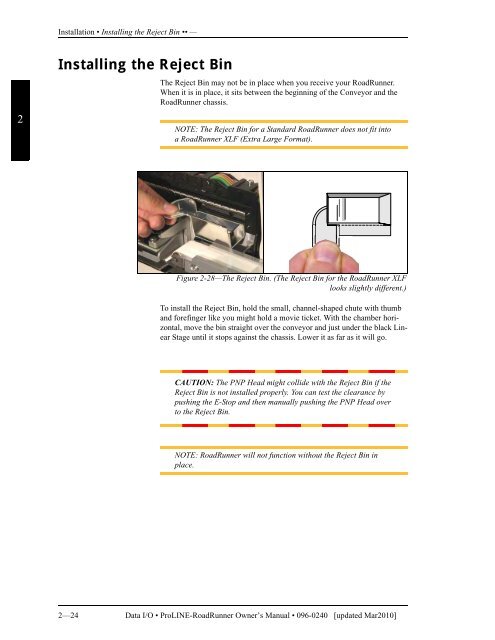
Installation • Installing the Reject Bin •• —2Installing the Reject Bin—The Reject Bin may not be in place when you receive your <strong>RoadRunner</strong>.When it is in place, it sits between the beginning of the Conveyor and the<strong>RoadRunner</strong> chassis.NOTE: The Reject Bin for a Standard <strong>RoadRunner</strong> does not fit intoa <strong>RoadRunner</strong> XLF (Extra Large Format).Figure 2-28—The Reject Bin. (The Reject Bin for the <strong>RoadRunner</strong> XLFlooks slightly different.)To install the Reject Bin, hold the small, channel-shaped chute with thumband forefinger like you might hold a movie ticket. With the chamber horizontal,move the bin straight over the conveyor and just under the black LinearStage until it stops against the chassis. Lower it as far as it will go.CAUTION: The PNP Head might collide with the Reject Bin if theReject Bin is not installed properly. You can test the clearance bypushing the E-Stop and then manually pushing the PNP Head overto the Reject Bin.NOTE: <strong>RoadRunner</strong> will not function without the Reject Bin inplace.2—24 <strong>Data</strong> I/O • ProLINE-<strong>RoadRunner</strong> Owner’s <strong>Manual</strong> • 096-0240 [updated Mar2010]