PV*SOL Expert 6.0 - Manual - Valentin Software
PV*SOL Expert 6.0 - Manual - Valentin Software
PV*SOL Expert 6.0 - Manual - Valentin Software

Create successful ePaper yourself
Turn your PDF publications into a flip-book with our unique Google optimized e-Paper software.
10.1.6.9 Workflow<br />
Example for a PV system with ventilation.<br />
1. Specify the size of your roof area. To do this, select the roof area by left-clicking on<br />
the roof area in the roof visualisation or select your roof area in the tree view<br />
(default: New Roof). You can now specify the size and shape of your roof in the<br />
input field.<br />
2. First of all, delete all 2D objects by clicking the Delete All 2D Objects (except roof)<br />
button . Alternatively you can delete particular 2D objects by clicking the<br />
button, for example to obtain a barred area that you require.<br />
3. Specify the barred areas for the borders of your roof area. To do this, select the<br />
roof area by clicking on the roof area in the roof visualisation or select your roof<br />
area in the tree view (default: New Roof). Now in the input field click on the<br />
button and define the required barred areas in the Edge Distances dialog.<br />
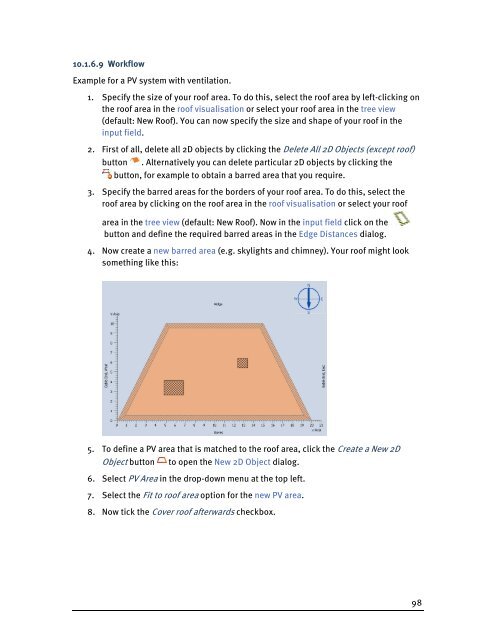
4. Now create a new barred area (e.g. skylights and chimney). Your roof might look<br />
something like this:<br />
5. To define a PV area that is matched to the roof area, click the Create a New 2D<br />
Object button to open the New 2D Object dialog.<br />
6. Select PV Area in the drop-down menu at the top left.<br />
7. Select the Fit to roof area option for the new PV area.<br />
8. Now tick the Cover roof afterwards checkbox.<br />
98