PV*SOL Expert 6.0 - Manual - Valentin Software
PV*SOL Expert 6.0 - Manual - Valentin Software
PV*SOL Expert 6.0 - Manual - Valentin Software
You also want an ePaper? Increase the reach of your titles
YUMPU automatically turns print PDFs into web optimized ePapers that Google loves.
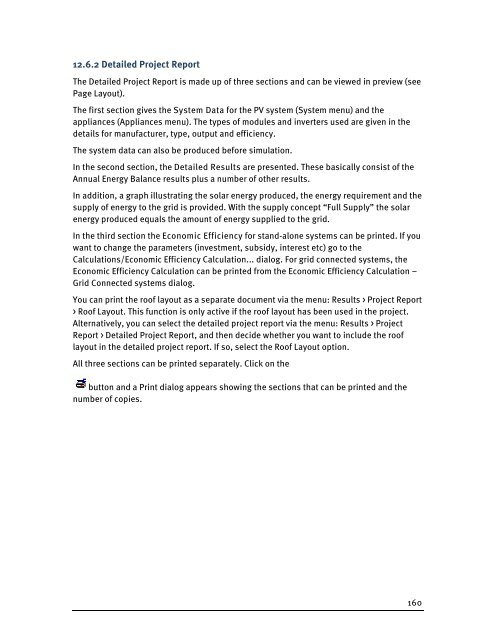
12.6.2 Detailed Project Report<br />
The Detailed Project Report is made up of three sections and can be viewed in preview (see<br />
Page Layout).<br />
The first section gives the System Data for the PV system (System menu) and the<br />
appliances (Appliances menu). The types of modules and inverters used are given in the<br />
details for manufacturer, type, output and efficiency.<br />
The system data can also be produced before simulation.<br />
In the second section, the Detailed Results are presented. These basically consist of the<br />
Annual Energy Balance results plus a number of other results.<br />
In addition, a graph illustrating the solar energy produced, the energy requirement and the<br />
supply of energy to the grid is provided. With the supply concept “Full Supply” the solar<br />
energy produced equals the amount of energy supplied to the grid.<br />
In the third section the Economic Efficiency for stand-alone systems can be printed. If you<br />
want to change the parameters (investment, subsidy, interest etc) go to the<br />
Calculations/Economic Efficiency Calculation... dialog. For grid connected systems, the<br />
Economic Efficiency Calculation can be printed from the Economic Efficiency Calculation –<br />
Grid Connected systems dialog.<br />
You can print the roof layout as a separate document via the menu: Results > Project Report<br />
> Roof Layout. This function is only active if the roof layout has been used in the project.<br />
Alternatively, you can select the detailed project report via the menu: Results > Project<br />
Report > Detailed Project Report, and then decide whether you want to include the roof<br />
layout in the detailed project report. If so, select the Roof Layout option.<br />
All three sections can be printed separately. Click on the<br />
button and a Print dialog appears showing the sections that can be printed and the<br />
number of copies.<br />
160


