PV*SOL Expert 6.0 - Manual - Valentin Software
PV*SOL Expert 6.0 - Manual - Valentin Software
PV*SOL Expert 6.0 - Manual - Valentin Software

You also want an ePaper? Increase the reach of your titles
YUMPU automatically turns print PDFs into web optimized ePapers that Google loves.
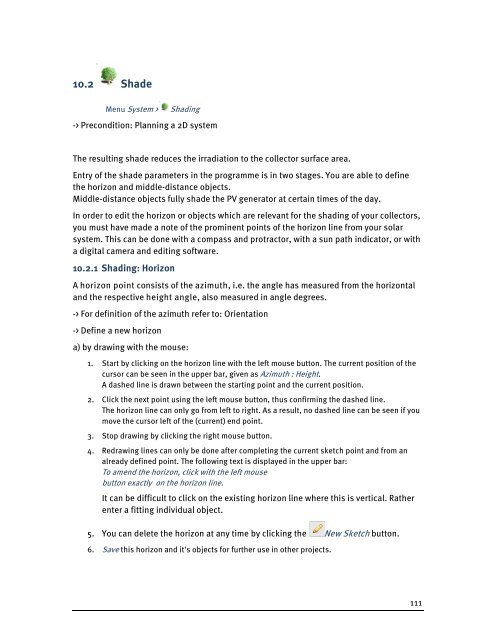
10.2 Shade<br />
Menu System > Shading<br />
-> Precondition: Planning a 2D system<br />
The resulting shade reduces the irradiation to the collector surface area.<br />
Entry of the shade parameters in the programme is in two stages. You are able to define<br />
the horizon and middle-distance objects.<br />
Middle-distance objects fully shade the PV generator at certain times of the day.<br />
In order to edit the horizon or objects which are relevant for the shading of your collectors,<br />
you must have made a note of the prominent points of the horizon line from your solar<br />
system. This can be done with a compass and protractor, with a sun path indicator, or with<br />
a digital camera and editing software.<br />
10.2.1 Shading: Horizon<br />
A horizon point consists of the azimuth, i.e. the angle has measured from the horizontal<br />
and the respective height angle, also measured in angle degrees.<br />
-> For definition of the azimuth refer to: Orientation<br />
-> Define a new horizon<br />
a) by drawing with the mouse:<br />
1. Start by clicking on the horizon line with the left mouse button. The current position of the<br />
cursor can be seen in the upper bar, given as Azimuth : Height.<br />
A dashed line is drawn between the starting point and the current position.<br />
2. Click the next point using the left mouse button, thus confirming the dashed line.<br />
The horizon line can only go from left to right. As a result, no dashed line can be seen if you<br />
move the cursor left of the (current) end point.<br />
3. Stop drawing by clicking the right mouse button.<br />
4. Redrawing lines can only be done after completing the current sketch point and from an<br />
already defined point. The following text is displayed in the upper bar:<br />
To amend the horizon, click with the left mouse<br />
button exactly on the horizon line.<br />
It can be difficult to click on the existing horizon line where this is vertical. Rather<br />
enter a fitting individual object.<br />
5. You can delete the horizon at any time by clicking the New Sketch button.<br />
6. Save this horizon and it's objects for further use in other projects.<br />
111