Manuale italiano-inglese Oberheim-Viscount MC3000 - Synth Zone
Manuale italiano-inglese Oberheim-Viscount MC3000 - Synth Zone
Manuale italiano-inglese Oberheim-Viscount MC3000 - Synth Zone

You also want an ePaper? Increase the reach of your titles
YUMPU automatically turns print PDFs into web optimized ePapers that Google loves.
MC 3000<br />
Operating Manual<br />
Special operating hints:<br />
1. For optimum MIDI BULK DUMP results, set the metronome tempo of the sequencer or<br />
computer clock at a value of about 100 BPM.<br />
2. The user must absolutely never attempt to modify the contents of the exclusive code file<br />
using file editors; even an apparently tiny variation of just one letter or number will mean<br />
that the MC 3000 is unable to recognize the file, and all the data it contains will be<br />
irreparably lost.<br />
3. During reception of BULK DUMP data, the MC-3000 should be set on the TOP PAGE.<br />
4. Remember that setting of an active file on the exclusive systems disables BULK DUMP<br />
reception.<br />
5. In case of a Bulk Dump containing a large number of MC-3000 data, suspend the<br />
operation every 360 Kbytes of memory transmitted to allow the data to be saved. Press<br />
F6 again to restart the interrupted procedure.<br />
6.3 MIDI MONITOR<br />
ESC can be pressed to exit from any page of the Common section and obtain the<br />
UTILITY MASTER video page, which is the main page of the UTILITY mode, which also<br />
appears when the mode is selected using the relative key on the far right of the panel.<br />
From this video page, the second section of the mode can be accessed by locating on the<br />
MIDI MONITOR field with the encoder or using the cursor keys and confirming with<br />
ENTER.<br />
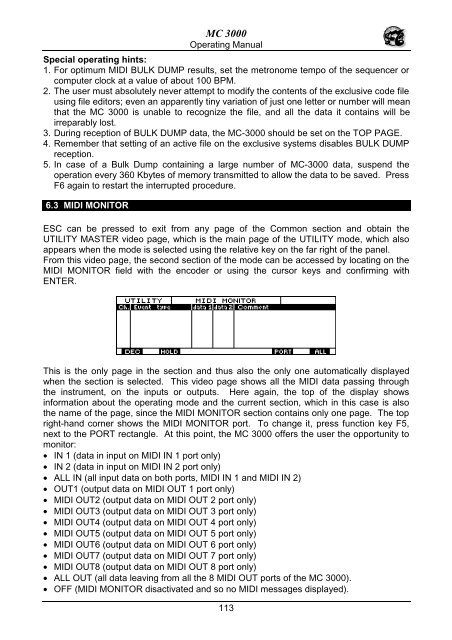
This is the only page in the section and thus also the only one automatically displayed<br />
when the section is selected. This video page shows all the MIDI data passing through<br />
the instrument, on the inputs or outputs. Here again, the top of the display shows<br />
information about the operating mode and the current section, which in this case is also<br />
the name of the page, since the MIDI MONITOR section contains only one page. The top<br />
right-hand corner shows the MIDI MONITOR port. To change it, press function key F5,<br />
next to the PORT rectangle. At this point, the MC 3000 offers the user the opportunity to<br />
monitor:<br />
• IN 1 (data in input on MIDI IN 1 port only)<br />
• IN 2 (data in input on MIDI IN 2 port only)<br />
• ALL IN (all input data on both ports, MIDI IN 1 and MIDI IN 2)<br />
• OUT1 (output data on MIDI OUT 1 port only)<br />
• MIDI OUT2 (output data on MIDI OUT 2 port only)<br />
• MIDI OUT3 (output data on MIDI OUT 3 port only)<br />
• MIDI OUT4 (output data on MIDI OUT 4 port only)<br />
• MIDI OUT5 (output data on MIDI OUT 5 port only)<br />
• MIDI OUT6 (output data on MIDI OUT 6 port only)<br />
• MIDI OUT7 (output data on MIDI OUT 7 port only)<br />
• MIDI OUT8 (output data on MIDI OUT 8 port only)<br />
• ALL OUT (all data leaving from all the 8 MIDI OUT ports of the MC 3000).<br />
• OFF (MIDI MONITOR disactivated and so no MIDI messages displayed).<br />
113