CETAC M-7600 Mercury Analyzer Operator's Manual
CETAC M-7600 Mercury Analyzer Operator's Manual
CETAC M-7600 Mercury Analyzer Operator's Manual
You also want an ePaper? Increase the reach of your titles
YUMPU automatically turns print PDFs into web optimized ePapers that Google loves.
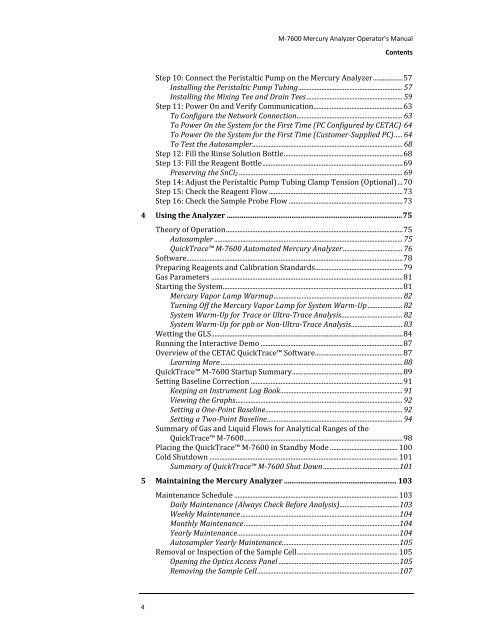
M-<strong>7600</strong> <strong>Mercury</strong> <strong>Analyzer</strong> Operator’s <strong>Manual</strong><br />
Contents<br />
Step 10: Connect the Peristaltic Pump on the <strong>Mercury</strong> <strong>Analyzer</strong> .................. 57<br />
Installing the Peristaltic Pump Tubing ............................................................... 57<br />
Installing the Mixing Tee and Drain Tees .......................................................... 59<br />
Step 11: Power On and Verify Communication ...................................................... 63<br />
To Configure the Network Connection ................................................................ 63<br />
To Power On the System for the First Time (PC Configured by <strong>CETAC</strong>) 64<br />
To Power On the System for the First Time (Customer-Supplied PC) ..... 64<br />
To Test the Autosampler ........................................................................................... 68<br />
Step 12: Fill the Rinse Solution Bottle ........................................................................ 68<br />
Step 13: Fill the Reagent Bottle ..................................................................................... 69<br />
Preserving the SnCl 2 ................................................................................................... 69<br />
Step 14: Adjust the Peristaltic Pump Tubing Clamp Tension (Optional) ... 70<br />
Step 15: Check the Reagent Flow ................................................................................. 73<br />
Step 16: Check the Sample Probe Flow ..................................................................... 73<br />
4 Using the <strong>Analyzer</strong> ............................................................................................... 75<br />
Theory of Operation ........................................................................................................... 75<br />
Autosampler .................................................................................................................. 75<br />
QuickTrace M-<strong>7600</strong> Automated <strong>Mercury</strong> <strong>Analyzer</strong> .................................... 76<br />
Software................................................................................................................................... 78<br />
Preparing Reagents and Calibration Standards ..................................................... 79<br />
Gas Parameters .................................................................................................................... 81<br />
Starting the System............................................................................................................. 81<br />
<strong>Mercury</strong> Vapor Lamp Warmup .............................................................................. 82<br />
Turning Off the <strong>Mercury</strong> Vapor Lamp for System Warm-Up ..................... 82<br />
System Warm-Up for Trace or Ultra-Trace Analysis ..................................... 82<br />
System Warm-Up for ppb or Non-Ultra-Trace Analysis ............................... 83<br />
Wetting the GLS .................................................................................................................... 84<br />
Running the Interactive Demo ...................................................................................... 87<br />
Overview of the <strong>CETAC</strong> QuickTrace Software ..................................................... 87<br />
Learning More .............................................................................................................. 88<br />
QuickTrace M-<strong>7600</strong> Startup Summary ................................................................... 89<br />
Setting Baseline Correction ............................................................................................ 91<br />
Keeping an Instrument Log Book .......................................................................... 91<br />
Viewing the Graphs ..................................................................................................... 92<br />
Setting a One-Point Baseline ................................................................................... 92<br />
Setting a Two-Point Baseline .................................................................................. 94<br />
Summary of Gas and Liquid Flows for Analytical Ranges of the<br />
QuickTrace M-<strong>7600</strong> ................................................................................................ 98<br />
Placing the QuickTrace M-<strong>7600</strong> in Standby Mode ......................................... 100<br />
Cold Shutdown .................................................................................................................. 101<br />
Summary of QuickTrace M-<strong>7600</strong> Shut Down .............................................. 101<br />
5 Maintaining the <strong>Mercury</strong> <strong>Analyzer</strong> ............................................................. 103<br />
Maintenance Schedule ................................................................................................... 103<br />
Daily Maintenance (Always Check Before Analysis) .................................... 103<br />
Weekly Maintenance ................................................................................................ 104<br />
Monthly Maintenance .............................................................................................. 104<br />
Yearly Maintenance .................................................................................................. 104<br />
Autosampler Yearly Maintenance....................................................................... 105<br />
Removal or Inspection of the Sample Cell ............................................................. 105<br />
Opening the Optics Access Panel ......................................................................... 105<br />
Removing the Sample Cell ...................................................................................... 107<br />
4


