

7918KB - Yamaha
7918KB - Yamaha
7918KB - Yamaha

Create successful ePaper yourself
Turn your PDF publications into a flip-book with our unique Google optimized e-Paper software.
,,,,,,,,,,,,,,,<br />
QQQQQQQQQQQQQQQ<br />
¢¢¢¢¢¢¢¢¢¢¢¢¢¢¢<br />
Song Recording<br />
,,,,,,,,,,,,,,,<br />
QQQQQQQQQQQQQQQ<br />
¢¢¢¢¢¢¢¢¢¢¢¢¢¢¢<br />
• Before actually starting to record you can try playing the<br />
PSR-730/630 the way it is set up by using the “Rehearsal<br />
Mode”: press the [SYNC START] button to temporarily disengage<br />
the record ready mode, rehearse as necessary, then<br />
press the [SYNC START] button again to return to the record<br />
ready mode.<br />
• Whenever you record using a SONG, any previously recorded<br />
material in the same track will be erased.<br />
• If the SONG memory becomes full while recording, “Disk<br />
FULL!!” will appear on the display and recording will stop (the<br />
“Rehearsal Mode” will be engaged).<br />
• Recording is carried out in 1-measure increments. If you stop<br />
recording in the middle of a measure, rests will automatically<br />
be recorded until the end of that measure.<br />
• If you start recording by pressing the [START/STOP] button,<br />
nothing will be recording on a MELODY track until you begin<br />
playing on the keyboard. Only rhythm accompaniment will be<br />
recorded on the ACCOMPANIMENT track until you play a<br />
chord in the auto accompaniment section of the keyboard.<br />
• During recording you can use the TRACK buttons to turn<br />
playback of previously-recorded MELODY tracks or the AC-<br />
COMPANIMENT track on or off as required.<br />
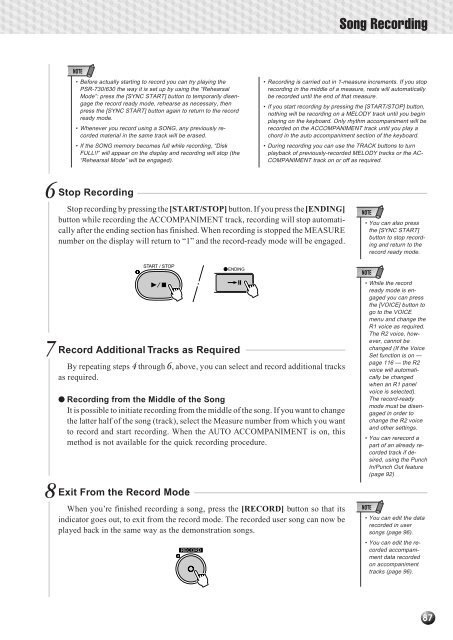
6 Stop Recording<br />
Stop recording by pressing the [START/STOP] button. If you press the [ENDING]<br />
button while recording the ACCOMPANIMENT track, recording will stop automatically<br />
after the ending section has finished. When recording is stopped the MEASURE<br />
number on the display will return to “1” and the record-ready mode will be engaged.<br />
START / STOP<br />
7 Record Additional Tracks as Required<br />
By repeating steps 4 through 6, above, you can select and record additional tracks<br />
as required.<br />
8 Exit From the Record Mode<br />
When you’re finished recording a song, press the [RECORD] button so that its<br />
indicator goes out, to exit from the record mode. The recorded user song can now be<br />
played back in the same way as the demonstration songs.<br />
RECORD<br />
ENDING<br />
● Recording from the Middle of the Song<br />
It is possible to initiate recording from the middle of the song. If you want to change<br />
the latter half of the song (track), select the Measure number from which you want<br />
to record and start recording. When the AUTO ACCOMPANIMENT is on, this<br />
method is not available for the quick recording procedure.<br />
• You can also press<br />
the [SYNC START]<br />
button to stop recording<br />
and return to the<br />
record ready mode.<br />
• While the record<br />
ready mode is engaged<br />
you can press<br />
the [VOICE] button to<br />
go to the VOICE<br />
menu and change the<br />
R1 voice as required.<br />
The R2 voice, however,<br />
cannot be<br />
changed (If the Voice<br />
Set function is on —<br />
page 116 — the R2<br />
voice will automatically<br />
be changed<br />
when an R1 panel<br />
voice is selected).<br />
The record-ready<br />
mode must be disengaged<br />
in order to<br />
change the R2 voice<br />
and other settings.<br />
• You can rerecord a<br />
part of an already recorded<br />
track if desired,<br />
using the Punch<br />
In/Punch Out feature<br />
(page 92)<br />
• You can edit the data<br />
recorded in user<br />
songs (page 96).<br />
• You can edit the recordedaccompaniment<br />
data recorded<br />
on accompaniment<br />
tracks (page 96).<br />
87


![Premere il pulsante [SONG] - Yamaha](https://img.yumpu.com/50419553/1/184x260/premere-il-pulsante-song-yamaha.jpg?quality=85)

