

RAE MiniRAE 3000 User's Guide - Geotech
RAE MiniRAE 3000 User's Guide - Geotech
RAE MiniRAE 3000 User's Guide - Geotech

Create successful ePaper yourself
Turn your PDF publications into a flip-book with our unique Google optimized e-Paper software.
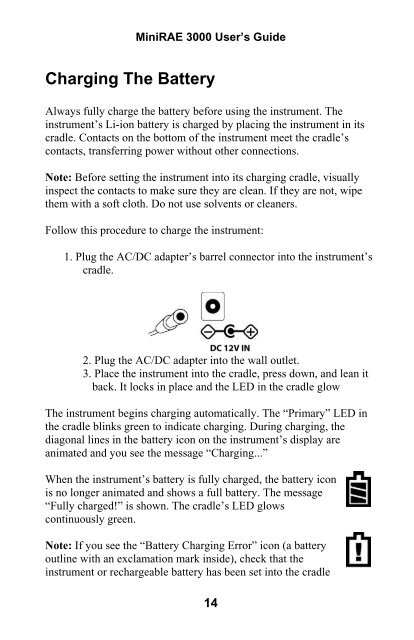
Mini<strong>RAE</strong> <strong>3000</strong> User’s <strong>Guide</strong>Charging The BatteryAlways fully charge the battery before using the instrument. Theinstrument’s Li-ion battery is charged by placing the instrument in itscradle. Contacts on the bottom of the instrument meet the cradle’scontacts, transferring power without other connections.Note: Before setting the instrument into its charging cradle, visuallyinspect the contacts to make sure they are clean. If they are not, wipethem with a soft cloth. Do not use solvents or cleaners.Follow this procedure to charge the instrument:1. Plug the AC/DC adapter’s barrel connector into the instrument’scradle.2. Plug the AC/DC adapter into the wall outlet.3. Place the instrument into the cradle, press down, and lean itback. It locks in place and the LED in the cradle glowThe instrument begins charging automatically. The “Primary” LED inthe cradle blinks green to indicate charging. During charging, thediagonal lines in the battery icon on the instrument’s display areanimated and you see the message “Charging...”When the instrument’s battery is fully charged, the battery iconis no longer animated and shows a full battery. The message“Fully charged!” is shown. The cradle’s LED glowscontinuously green.Note: If you see the “Battery Charging Error” icon (a batteryoutline with an exclamation mark inside), check that theinstrument or rechargeable battery has been set into the cradle14


