Samsung ML-3051N - User Manual_9.08 MB, pdf, ENGLISH
Samsung ML-3051N - User Manual_9.08 MB, pdf, ENGLISH
Samsung ML-3051N - User Manual_9.08 MB, pdf, ENGLISH
You also want an ePaper? Increase the reach of your titles
YUMPU automatically turns print PDFs into web optimized ePapers that Google loves.
Dear ABC<br />
Regards<br />
WORLD BEST<br />
WORLD BEST<br />
Using Overlays<br />
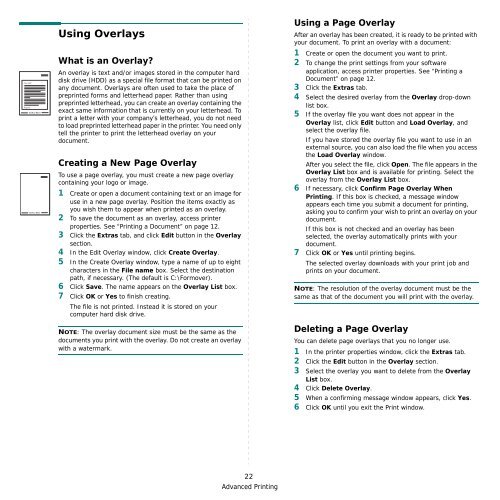
What is an Overlay?<br />
An overlay is text and/or images stored in the computer hard<br />
disk drive (HDD) as a special file format that can be printed on<br />
any document. Overlays are often used to take the place of<br />
preprinted forms and letterhead paper. Rather than using<br />
preprinted letterhead, you can create an overlay containing the<br />
exact same information that is currently on your letterhead. To<br />
print a letter with your company’s letterhead, you do not need<br />
to load preprinted letterhead paper in the printer. You need only<br />
tell the printer to print the letterhead overlay on your<br />
document.<br />
Creating a New Page Overlay<br />
To use a page overlay, you must create a new page overlay<br />
containing your logo or image.<br />
1 Create or open a document containing text or an image for<br />
use in a new page overlay. Position the items exactly as<br />
you wish them to appear when printed as an overlay.<br />
2 To save the document as an overlay, access printer<br />
properties. See “Printing a Document” on page 12.<br />
3 Click the Extras tab, and click Edit button in the Overlay<br />
section.<br />
4 In the Edit Overlay window, click Create Overlay.<br />
5 In the Create Overlay window, type a name of up to eight<br />
characters in the File name box. Select the destination<br />
path, if necessary. (The default is C:\Formover).<br />
6 Click Save. The name appears on the Overlay List box.<br />
7 Click OK or Yes to finish creating.<br />
The file is not printed. Instead it is stored on your<br />
computer hard disk drive.<br />
NOTE: The overlay document size must be the same as the<br />
documents you print with the overlay. Do not create an overlay<br />
with a watermark.<br />
Using a Page Overlay<br />
After an overlay has been created, it is ready to be printed with<br />
your document. To print an overlay with a document:<br />
1 Create or open the document you want to print.<br />
2 To change the print settings from your software<br />
application, access printer properties. See “Printing a<br />
Document” on page 12.<br />
3 Click the Extras tab.<br />
4 Select the desired overlay from the Overlay drop-down<br />
list box.<br />
5 If the overlay file you want does not appear in the<br />
Overlay list, click Edit button and Load Overlay, and<br />
select the overlay file.<br />
If you have stored the overlay file you want to use in an<br />
external source, you can also load the file when you access<br />
the Load Overlay window.<br />
After you select the file, click Open. The file appears in the<br />
Overlay List box and is available for printing. Select the<br />
overlay from the Overlay List box.<br />
6 If necessary, click Confirm Page Overlay When<br />
Printing. If this box is checked, a message window<br />
appears each time you submit a document for printing,<br />
asking you to confirm your wish to print an overlay on your<br />
document.<br />
If this box is not checked and an overlay has been<br />
selected, the overlay automatically prints with your<br />
document.<br />
7 Click OK or Yes until printing begins.<br />
The selected overlay downloads with your print job and<br />
prints on your document.<br />
NOTE: The resolution of the overlay document must be the<br />
same as that of the document you will print with the overlay.<br />
Deleting a Page Overlay<br />
You can delete page overlays that you no longer use.<br />
1 In the printer properties window, click the Extras tab.<br />
2 Click the Edit button in the Overlay section.<br />
3 Select the overlay you want to delete from the Overlay<br />
List box.<br />
4 Click Delete Overlay.<br />
5 When a confirming message window appears, click Yes.<br />
6 Click OK until you exit the Print window.<br />
22<br />
Advanced Printing


