

service manual ar-203e ar-203e x ar-m200 ar-m201 model ar-5420
service manual ar-203e ar-203e x ar-m200 ar-m201 model ar-5420
service manual ar-203e ar-203e x ar-m200 ar-m201 model ar-5420

Create successful ePaper yourself
Turn your PDF publications into a flip-book with our unique Google optimized e-Paper software.
(2) Using the machine as a sh<strong>ar</strong>ed printer<br />
(AR-203E/M200/M201)<br />
If the machine will be used as a sh<strong>ar</strong>ed printer on a network, follow<br />
these steps to install the printer driver in the client computer.<br />
Note: To configure the appropriate settings in the print server, see<br />
the operation <strong>manual</strong> or help file of your operating system.<br />
1) Perform steps 2) through 6) in "Installing the softw<strong>ar</strong>e".<br />
2) Click the "Custom" button.<br />
3) Click the "MFP Driver" button.<br />
Click the "Display Readme" button to show information on packages<br />
that <strong>ar</strong>e selected.<br />
4) Select "Connected via the network" and click the "Next" button.<br />
AR-203E/<strong>5420</strong>/M200/M201 UNPACKING AND INSTALLATION 5 - 7<br />
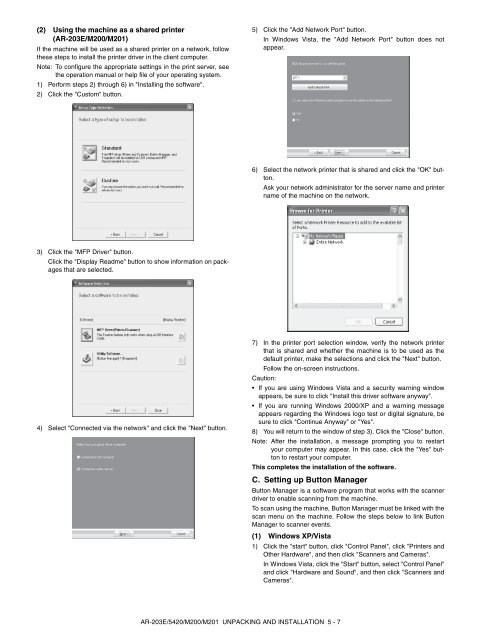
5) Click the "Add Network Port" button.<br />
In Windows Vista, the "Add Network Port" button does not<br />
appe<strong>ar</strong>.<br />
6) Select the network printer that is sh<strong>ar</strong>ed and click the "OK" button.<br />
Ask your network administrator for the server name and printer<br />
name of the machine on the network.<br />
7) In the printer port selection window, verify the network printer<br />
that is sh<strong>ar</strong>ed and whether the machine is to be used as the<br />
default printer, make the selections and click the "Next" button.<br />
Follow the on-screen instructions.<br />
Caution:<br />
If you <strong>ar</strong>e using Windows Vista and a security w<strong>ar</strong>ning window<br />
appe<strong>ar</strong>s, be sure to click "Install this driver softw<strong>ar</strong>e anyway".<br />
If you <strong>ar</strong>e running Windows 2000/XP and a w<strong>ar</strong>ning message<br />
appe<strong>ar</strong>s reg<strong>ar</strong>ding the Windows logo test or digital signature, be<br />
sure to click "Continue Anyway" or "Yes".<br />
8) You will return to the window of step 3). Click the "Close" button.<br />
Note: After the installation, a message prompting you to rest<strong>ar</strong>t<br />
your computer may appe<strong>ar</strong>. In this case, click the "Yes" button<br />
to rest<strong>ar</strong>t your computer.<br />
This completes the installation of the softw<strong>ar</strong>e.<br />
C. Setting up Button Manager<br />
Button Manager is a softw<strong>ar</strong>e program that works with the scanner<br />
driver to enable scanning from the machine.<br />
To scan using the machine, Button Manager must be linked with the<br />
scan menu on the machine. Follow the steps below to link Button<br />
Manager to scanner events.<br />
(1) Windows XP/Vista<br />
1) Click the "st<strong>ar</strong>t" button, click "Control Panel", click "Printers and<br />
Other H<strong>ar</strong>dw<strong>ar</strong>e", and then click "Scanners and Cameras".<br />
In Windows Vista, click the "St<strong>ar</strong>t" button, select "Control Panel"<br />
and click "H<strong>ar</strong>dw<strong>ar</strong>e and Sound", and then click "Scanners and<br />
Cameras".


