DNR200V_SERIES_MANUAL_EN_R1_web - Digimerge
DNR200V_SERIES_MANUAL_EN_R1_web - Digimerge
DNR200V_SERIES_MANUAL_EN_R1_web - Digimerge
- No tags were found...

You also want an ePaper? Increase the reach of your titles
YUMPU automatically turns print PDFs into web optimized ePapers that Google loves.
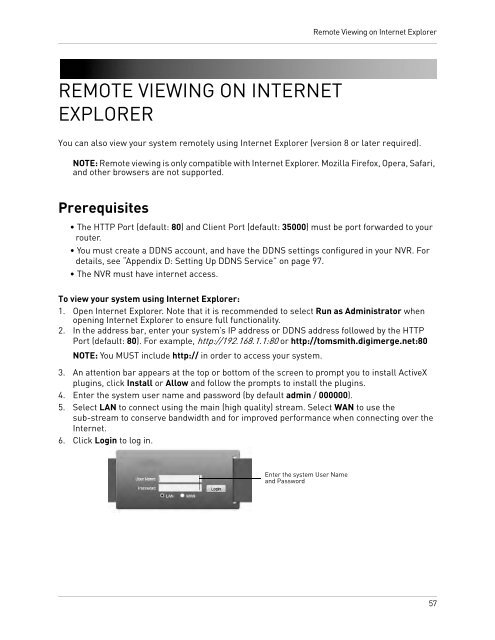
Remote Viewing on Internet ExplorerREMOTE VIEWING ON INTERNETEXPLORERYou can also view your system remotely using Internet Explorer (version 8 or later required).NOTE: Remote viewing is only compatible with Internet Explorer. Mozilla Firefox, Opera, Safari,and other browsers are not supported.Prerequisites• The HTTP Port (default: 80) and Client Port (default: 35000) must be port forwarded to yourrouter.• You must create a DDNS account, and have the DDNS settings configured in your NVR. Fordetails, see “Appendix D: Setting Up DDNS Service” on page 97.• The NVR must have internet access.To view your system using Internet Explorer:1. Open Internet Explorer. Note that it is recommended to select Run as Administrator whenopening Internet Explorer to ensure full functionality.2. In the address bar, enter your system’s IP address or DDNS address followed by the HTTPPort (default: 80). For example, http://192.168.1.1:80 or http://tomsmith.digimerge.net:80NOTE: You MUST include http:// in order to access your system.3. An attention bar appears at the top or bottom of the screen to prompt you to install ActiveXplugins, click Install or Allow and follow the prompts to install the plugins.4. Enter the system user name and password (by default admin / 000000).5. Select LAN to connect using the main (high quality) stream. Select WAN to use thesub-stream to conserve bandwidth and for improved performance when connecting over theInternet.6. Click Login to log in.Enter the system User Nameand Password57