


Create successful ePaper yourself
Turn your PDF publications into a flip-book with our unique Google optimized e-Paper software.
98 Painting and Drawing<br />
Creating and editing outline shapes<br />
Outline shapes are shapes you draw yourself with the three Outline tools from the<br />
Tools toolbar's Outline Tool flyout.<br />
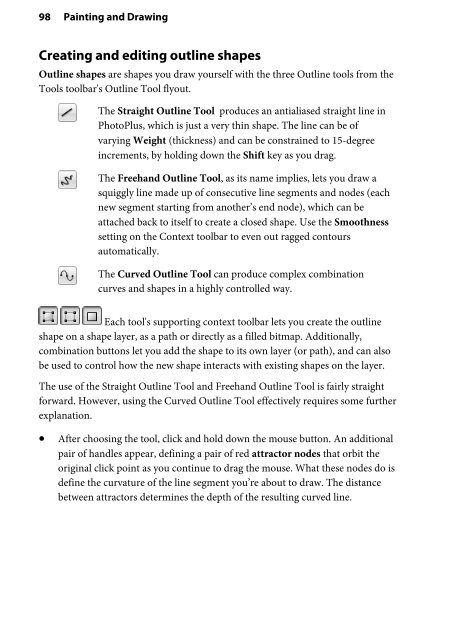
The Straight Outline Tool produces an antialiased straight line in<br />
<strong>PhotoPlus</strong>, which is just a very thin shape. The line can be of<br />
varying Weight (thickness) and can be constrained to 15-degree<br />
increments, by holding down the Shift key as you drag.<br />
The Freehand Outline Tool, as its name implies, lets you draw a<br />
squiggly line made up of consecutive line segments and nodes (each<br />
new segment starting from another’s end node), which can be<br />
attached back to itself to create a closed shape. Use the Smoothness<br />
setting on the Context toolbar to even out ragged contours<br />
automatically.<br />
The Curved Outline Tool can produce complex combination<br />
curves and shapes in a highly controlled way.<br />
Each tool's supporting context toolbar lets you create the outline<br />
shape on a shape layer, as a path or directly as a filled bitmap. Additionally,<br />
combination buttons let you add the shape to its own layer (or path), and can also<br />
be used to control how the new shape interacts with existing shapes on the layer.<br />
The use of the Straight Outline Tool and Freehand Outline Tool is fairly straight<br />
forward. However, using the Curved Outline Tool effectively requires some further<br />
explanation.<br />
• After choosing the tool, click and hold down the mouse button. An additional<br />
pair of handles appear, defining a pair of red attractor nodes that orbit the<br />
original click point as you continue to drag the mouse. What these nodes do is<br />
define the curvature of the line segment you’re about to draw. The distance<br />
between attractors determines the depth of the resulting curved line.


