


Create successful ePaper yourself
Turn your PDF publications into a flip-book with our unique Google optimized e-Paper software.
148 Layers and Masks<br />
Using masks<br />
Masking in a program like <strong>PhotoPlus</strong> is a bit more complicated than applying<br />
masking tape to the screen! But fundamentally the concept is the same: you can<br />
hide certain parts of an image—in this case by rendering them transparent, hence<br />
invisible. To do that, you create a mask on a non-Background layer (the<br />
Background layer doesn't support transparency).<br />
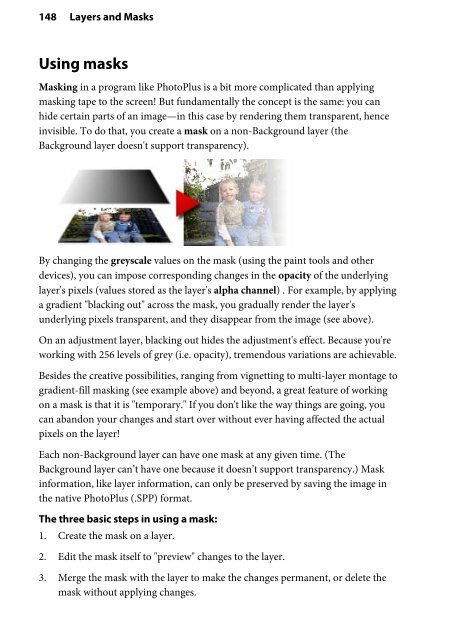
By changing the greyscale values on the mask (using the paint tools and other<br />
devices), you can impose corresponding changes in the opacity of the underlying<br />
layer's pixels (values stored as the layer's alpha channel) . For example, by applying<br />
a gradient "blacking out" across the mask, you gradually render the layer's<br />
underlying pixels transparent, and they disappear from the image (see above).<br />
On an adjustment layer, blacking out hides the adjustment's effect. Because you're<br />
working with 256 levels of grey (i.e. opacity), tremendous variations are achievable.<br />
Besides the creative possibilities, ranging from vignetting to multi-layer montage to<br />
gradient-fill masking (see example above) and beyond, a great feature of working<br />
on a mask is that it is "temporary." If you don't like the way things are going, you<br />
can abandon your changes and start over without ever having affected the actual<br />
pixels on the layer!<br />
Each non-Background layer can have one mask at any given time. (The<br />
Background layer can’t have one because it doesn’t support transparency.) Mask<br />
information, like layer information, can only be preserved by saving the image in<br />
the native <strong>PhotoPlus</strong> (.SPP) format.<br />
The three basic steps in using a mask:<br />
1. Create the mask on a layer.<br />
2. Edit the mask itself to "preview" changes to the layer.<br />
3. Merge the mask with the layer to make the changes permanent, or delete the<br />
mask without applying changes.


