


Create successful ePaper yourself
Turn your PDF publications into a flip-book with our unique Google optimized e-Paper software.
78 Painting and Drawing<br />
3. Change brush tip's attributes, if necessary, on the Context toolbar. These<br />
changes do not affect the brush presets present in the Brush Tip tab. Doubleclick<br />
the Brush option to reveal the Brush Options dialog, which lets you set<br />
more advanced brush characteristics.<br />
4. Drag the cursor on the active layer, holding the left mouse button down to<br />
paint in the foreground colour.<br />
Stamping and spraying pictures<br />
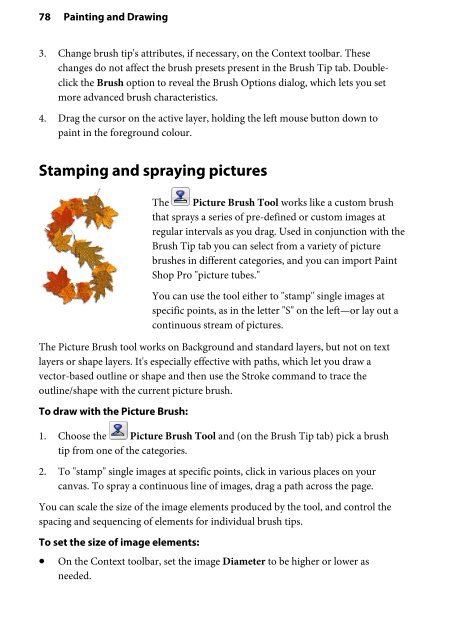
The Picture Brush Tool works like a custom brush<br />
that sprays a series of pre-defined or custom images at<br />
regular intervals as you drag. Used in conjunction with the<br />
Brush Tip tab you can select from a variety of picture<br />
brushes in different categories, and you can import Paint<br />
Shop Pro "picture tubes."<br />
You can use the tool either to "stamp" single images at<br />
specific points, as in the letter "S" on the left—or lay out a<br />
continuous stream of pictures.<br />
The Picture Brush tool works on Background and standard layers, but not on text<br />
layers or shape layers. It's especially effective with paths, which let you draw a<br />
vector-based outline or shape and then use the Stroke command to trace the<br />
outline/shape with the current picture brush.<br />
To draw with the Picture Brush:<br />
1. Choose the Picture Brush Tool and (on the Brush Tip tab) pick a brush<br />
tip from one of the categories.<br />
2. To "stamp" single images at specific points, click in various places on your<br />
canvas. To spray a continuous line of images, drag a path across the page.<br />
You can scale the size of the image elements produced by the tool, and control the<br />
spacing and sequencing of elements for individual brush tips.<br />
To set the size of image elements:<br />
• On the Context toolbar, set the image Diameter to be higher or lower as<br />
needed.


