


You also want an ePaper? Increase the reach of your titles
YUMPU automatically turns print PDFs into web optimized ePapers that Google loves.
Creating Animations 157<br />
When you create a new frame on the Animation tab, you're not adding a new layer.<br />
The new frame merely enables you to define a new state of the layers that already<br />
exist. Of course, you could go on and create an additional layer (using the Layers<br />
tab), but then all your animation frames would need to take that layer into<br />
account—in other words, hide it when it wasn't needed.<br />
Single-layer animation<br />
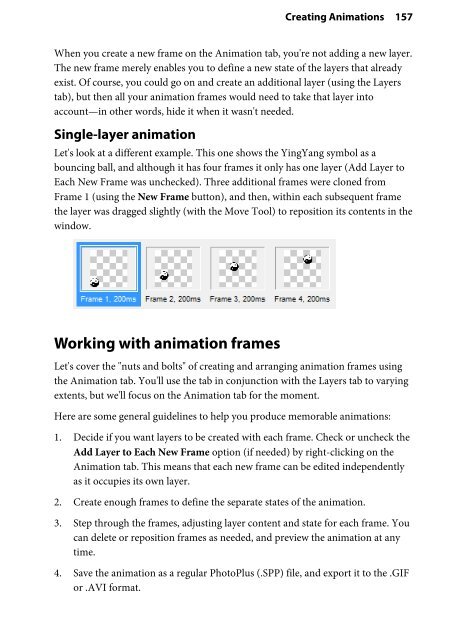
Let's look at a different example. This one shows the YingYang symbol as a<br />
bouncing ball, and although it has four frames it only has one layer (Add Layer to<br />
Each New Frame was unchecked). Three additional frames were cloned from<br />
Frame 1 (using the New Frame button), and then, within each subsequent frame<br />
the layer was dragged slightly (with the Move Tool) to reposition its contents in the<br />
window.<br />
Working with animation frames<br />
Let's cover the "nuts and bolts" of creating and arranging animation frames using<br />
the Animation tab. You'll use the tab in conjunction with the Layers tab to varying<br />
extents, but we'll focus on the Animation tab for the moment.<br />
Here are some general guidelines to help you produce memorable animations:<br />
1. Decide if you want layers to be created with each frame. Check or uncheck the<br />
Add Layer to Each New Frame option (if needed) by right-clicking on the<br />
Animation tab. This means that each new frame can be edited independently<br />
as it occupies its own layer.<br />
2. Create enough frames to define the separate states of the animation.<br />
3. Step through the frames, adjusting layer content and state for each frame. You<br />
can delete or reposition frames as needed, and preview the animation at any<br />
time.<br />
4. Save the animation as a regular <strong>PhotoPlus</strong> (.SPP) file, and export it to the .GIF<br />
or .AVI format.


