
Create successful ePaper yourself
Turn your PDF publications into a flip-book with our unique Google optimized e-Paper software.
GM OBD1 Systems<br />
CODE RETRIEVAL PROCEDURE<br />
� "Hard" Diagnostic Trouble Codes<br />
"Hard" DTCs represent problems that are occurring now and cause the<br />
instrument panel Malfunction Indicator Lamp (MIL) or Check Engine light to<br />
illuminate and remain on until the failure is repaired. A DTC is stored in the<br />
vehicle's computer memory for each fault detected. A <strong>Tool</strong> or <strong>Scan</strong>ner can<br />
be used to retrieve DTCs that are stored in the vehicle's computer memory.<br />
� Intermittent/History DTCs<br />
Intermittent/History DTCs are stored in the computer's memory for<br />
problems that occur intermittently, or for problems that happened in the<br />
past but are not currently present. Intermittent DTCs may cause the<br />
Malfunction Indicator light to flicker or stay on until the intermittent<br />
malfunction goes away. However, the corresponding fault code will be<br />
stored in memory as a history DTC. If the malfunction that caused the<br />
history DTC to set does not recur within a predetermined length of time<br />
(usually within 40-80 ignition key start cycles), the computer will<br />
automatically erase the related fault code from its memory.<br />
CODE RETRIEVAL PROCEDURE<br />
Retrieving and using Diagnostic Trouble Codes (DTCs) for<br />
troubleshooting vehicle operation is only one part of an<br />
overall diagnostic strategy.<br />
Never replace a part based only on the DTC definition.<br />
Each DTC has a set of testing procedures, instructions<br />
and flow charts that must be followed to confirm the<br />
location of the problem. This information is found in the<br />
vehicle's service manual. Always refer to the vehicle's<br />
service manual for detailed testing instructions.<br />
Check your vehicle thoroughly before performing<br />
any test. See BEFORE YOU BEGIN on page 18<br />
for details.<br />
ALWAYS observe safety precautions whenever working on a<br />
vehicle. See Safety Precautions on page 3 for more information.<br />
1. Locate the vehicle's Data Link Connector (DLC). See Data Link<br />
Connector (DLC) on page 98 for connector location.<br />
Some DLCs have a plastic cover that must be removed before<br />
connecting the CanOBD2&1 <strong>Scan</strong> <strong>Tool</strong>'s cable connector.<br />
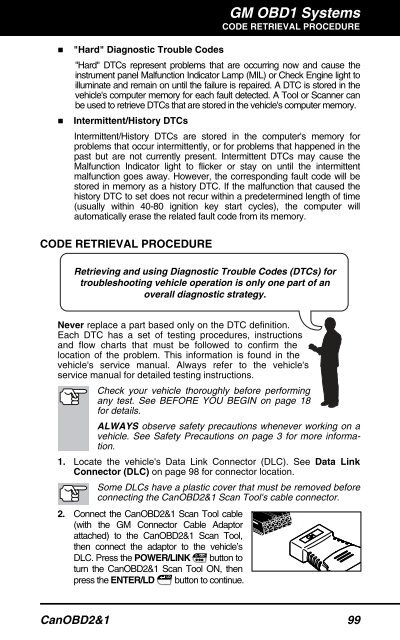
2. Connect the CanOBD2&1 <strong>Scan</strong> <strong>Tool</strong> cable<br />
(with the GM Connector Cable Adaptor<br />
attached) to the CanOBD2&1 <strong>Scan</strong> <strong>Tool</strong>,<br />
then connect the adaptor to the vehicle’s<br />
DLC. Press the POWER/LINK button to<br />
turn the CanOBD2&1 <strong>Scan</strong> <strong>Tool</strong> ON, then<br />
press the ENTER/LD button to continue.<br />
CanOBD2&1 99