
You also want an ePaper? Increase the reach of your titles
YUMPU automatically turns print PDFs into web optimized ePapers that Google loves.
Engine Timing Check<br />
Ford OBD1 Systems<br />
CODE RETRIEVAL PROCEDURES - ENGINE TIMING CHECK<br />
Do not proceed to the ignition timing check procedure or the<br />
KOER test until a PASS code (code 11 or 111) for KOEO test<br />
is obtained.<br />
Before performing the KOER Self-Test, the vehicle's Ignition<br />
Base Timing and the computer's ability to electronically control<br />
timing advance must be checked for proper operation.<br />
Maladjustment of ignition timing, or a problem in the advance<br />
circuit, might generate false fault codes when performing the<br />
KOER Self-Test that would cause the test to be invalid. Use<br />
the following procedures to check for proper ignition timing and<br />
to verify the computer's ability to electronically advance ignition<br />
timing.<br />
The following "Timing Check" procedure is only<br />
applicable to 1992 and older vehicles (excluding diesel<br />
engines). For 1993 and newer vehicles, refer to the<br />
vehicle's service repair manual for procedures to check<br />
and adjust timing. DO NOT ATTEMPT TO ADJUST TIMING<br />
ON THESE VEHICLES WITHOUT MANUFACTURER'S<br />
SPECIFICATIONS AND PROCEDURES.<br />
For 1992 and older vehicles, the CanOBD2&1 <strong>Scan</strong> <strong>Tool</strong> can be used in<br />
combination with a timing light to check ignition timing and the vehicle<br />
computers ability to advance ignition timing.<br />
Check your vehicle thoroughly before performing any test. See<br />
BEFORE YOU BEGIN on page 18 for details.<br />
ALWAYS observe safety precautions whenever working on a<br />
vehicle. Read and follow Safety Precautions on page 3 before<br />
performing this test.<br />
� A timing light is required to perform this test.<br />
� The vehicle must pass the KOEO Test (page 79) before performing<br />
this test.<br />
1. Locate the vehicle's Data Link Connector (DLC). See Data Link<br />
Connector on page 77 for connector location.<br />
Some DLCs have a plastic cover that must be removed before<br />
connecting the CanOBD2&1 <strong>Scan</strong> <strong>Tool</strong>'s cable connector.<br />
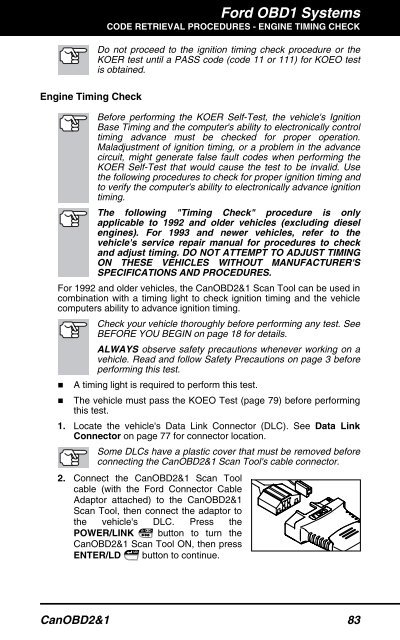
2. Connect the CanOBD2&1 <strong>Scan</strong> <strong>Tool</strong><br />
cable (with the Ford Connector Cable<br />
Adaptor attached) to the CanOBD2&1<br />
<strong>Scan</strong> <strong>Tool</strong>, then connect the adaptor to<br />
the vehicle's DLC. Press the<br />
POWER/LINK button to turn the<br />
CanOBD2&1 <strong>Scan</strong> <strong>Tool</strong> ON, then press<br />
ENTER/LD button to continue.<br />
CanOBD2&1 83