DI-770 Oscilloscope provides five virtual instruments in one
DI-770 Oscilloscope provides five virtual instruments in one
DI-770 Oscilloscope provides five virtual instruments in one
You also want an ePaper? Increase the reach of your titles
YUMPU automatically turns print PDFs into web optimized ePapers that Google loves.
<strong>DI</strong>-<strong>770</strong> and WINDAQ/Scope Manual<br />
3. Installation<br />
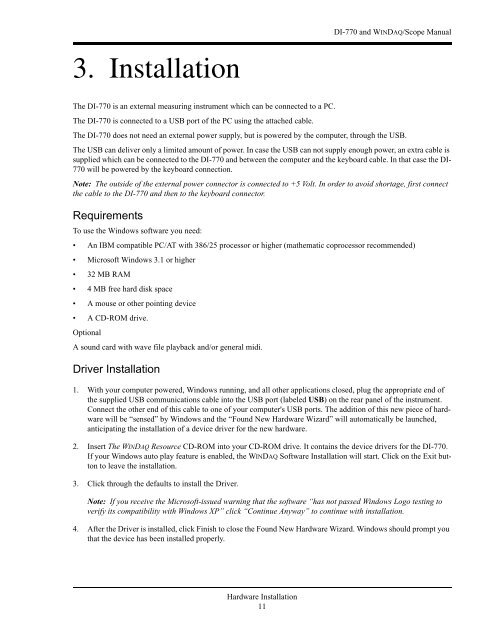
The <strong>DI</strong>-<strong>770</strong> is an external measur<strong>in</strong>g <strong>in</strong>strument which can be connected to a PC.<br />
The <strong>DI</strong>-<strong>770</strong> is connected to a USB port of the PC us<strong>in</strong>g the attached cable.<br />
The <strong>DI</strong>-<strong>770</strong> does not need an external power supply, but is powered by the computer, through the USB.<br />
The USB can deliver only a limited amount of power. In case the USB can not supply enough power, an extra cable is<br />
supplied which can be connected to the <strong>DI</strong>-<strong>770</strong> and between the computer and the keyboard cable. In that case the <strong>DI</strong>-<br />
<strong>770</strong> will be powered by the keyboard connection.<br />
Note: The outside of the external power connector is connected to +5 Volt. In order to avoid shortage, first connect<br />
the cable to the <strong>DI</strong>-<strong>770</strong> and then to the keyboard connector.<br />
Requirements<br />
To use the W<strong>in</strong>dows software you need:<br />
• An IBM compatible PC/AT with 386/25 processor or higher (mathematic coprocessor recommended)<br />
• Microsoft W<strong>in</strong>dows 3.1 or higher<br />
• 32 MB RAM<br />
• 4 MB free hard disk space<br />
• A mouse or other po<strong>in</strong>t<strong>in</strong>g device<br />
• A CD-ROM drive.<br />
Optional<br />
A sound card with wave file playback and/or general midi.<br />
Driver Installation<br />
1. With your computer powered, W<strong>in</strong>dows runn<strong>in</strong>g, and all other applications closed, plug the appropriate end of<br />
the supplied USB communications cable <strong>in</strong>to the USB port (labeled USB) on the rear panel of the <strong>in</strong>strument.<br />
Connect the other end of this cable to <strong>one</strong> of your computer's USB ports. The addition of this new piece of hardware<br />
will be “sensed” by W<strong>in</strong>dows and the “Found New Hardware Wizard” will automatically be launched,<br />
anticipat<strong>in</strong>g the <strong>in</strong>stallation of a device driver for the new hardware.<br />
2. Insert The WINDAQ Resource CD-ROM <strong>in</strong>to your CD-ROM drive. It conta<strong>in</strong>s the device drivers for the <strong>DI</strong>-<strong>770</strong>.<br />
If your W<strong>in</strong>dows auto play feature is enabled, the WINDAQ Software Installation will start. Click on the Exit button<br />
to leave the <strong>in</strong>stallation.<br />
3. Click through the defaults to <strong>in</strong>stall the Driver.<br />
Note: If you receive the Microsoft-issued warn<strong>in</strong>g that the software “has not passed W<strong>in</strong>dows Logo test<strong>in</strong>g to<br />
verify its compatibility with W<strong>in</strong>dows XP” click “Cont<strong>in</strong>ue Anyway” to cont<strong>in</strong>ue with <strong>in</strong>stallation.<br />
4. After the Driver is <strong>in</strong>stalled, click F<strong>in</strong>ish to close the Found New Hardware Wizard. W<strong>in</strong>dows should prompt you<br />
that the device has been <strong>in</strong>stalled properly.<br />
Hardware Installation<br />
11


