DI-770 Oscilloscope provides five virtual instruments in one
DI-770 Oscilloscope provides five virtual instruments in one
DI-770 Oscilloscope provides five virtual instruments in one
You also want an ePaper? Increase the reach of your titles
YUMPU automatically turns print PDFs into web optimized ePapers that Google loves.
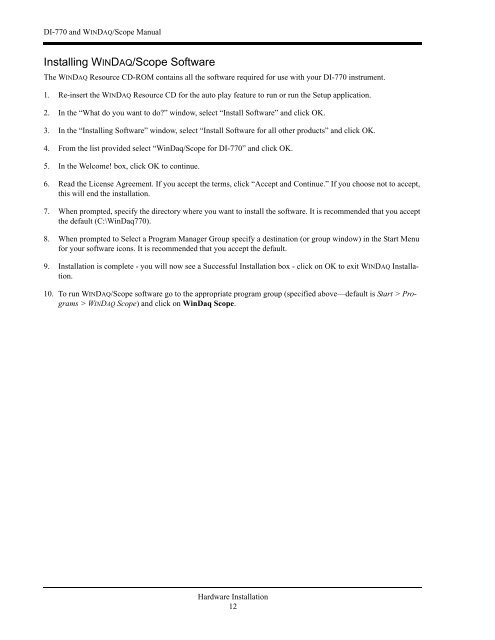
<strong>DI</strong>-<strong>770</strong> and WINDAQ/Scope Manual<br />
Install<strong>in</strong>g WINDAQ/Scope Software<br />
The WINDAQ Resource CD-ROM conta<strong>in</strong>s all the software required for use with your <strong>DI</strong>-<strong>770</strong> <strong>in</strong>strument.<br />
1. Re-<strong>in</strong>sert the WINDAQ Resource CD for the auto play feature to run or run the Setup application.<br />
2. In the “What do you want to do” w<strong>in</strong>dow, select “Install Software” and click OK.<br />
3. In the “Install<strong>in</strong>g Software” w<strong>in</strong>dow, select “Install Software for all other products” and click OK.<br />
4. From the list provided select “W<strong>in</strong>Daq/Scope for <strong>DI</strong>-<strong>770</strong>” and click OK.<br />
5. In the Welcome! box, click OK to cont<strong>in</strong>ue.<br />
6. Read the License Agreement. If you accept the terms, click “Accept and Cont<strong>in</strong>ue.” If you choose not to accept,<br />
this will end the <strong>in</strong>stallation.<br />
7. When prompted, specify the directory where you want to <strong>in</strong>stall the software. It is recommended that you accept<br />
the default (C:\W<strong>in</strong>Daq<strong>770</strong>).<br />
8. When prompted to Select a Program Manager Group specify a dest<strong>in</strong>ation (or group w<strong>in</strong>dow) <strong>in</strong> the Start Menu<br />
for your software icons. It is recommended that you accept the default.<br />
9. Installation is complete - you will now see a Successful Installation box - click on OK to exit WINDAQ Installation.<br />
10. To run WINDAQ/Scope software go to the appropriate program group (specified above—default is Start > Programs<br />
> WINDAQ Scope) and click on W<strong>in</strong>Daq Scope.<br />
Hardware Installation<br />
12


