DI-770 Oscilloscope provides five virtual instruments in one
DI-770 Oscilloscope provides five virtual instruments in one
DI-770 Oscilloscope provides five virtual instruments in one

You also want an ePaper? Increase the reach of your titles
YUMPU automatically turns print PDFs into web optimized ePapers that Google loves.
<strong>DI</strong>-<strong>770</strong> and WINDAQ/Scope Manual<br />
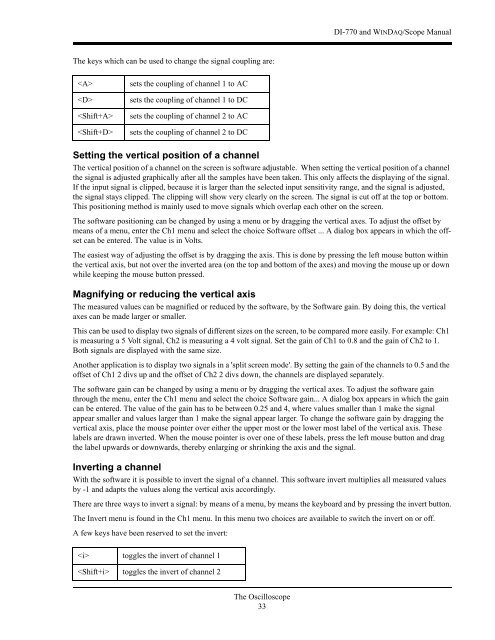
The keys which can be used to change the signal coupl<strong>in</strong>g are:<br />
<br />
<br />
<br />
<br />
sets the coupl<strong>in</strong>g of channel 1 to AC<br />
sets the coupl<strong>in</strong>g of channel 1 to DC<br />
sets the coupl<strong>in</strong>g of channel 2 to AC<br />
sets the coupl<strong>in</strong>g of channel 2 to DC<br />
Sett<strong>in</strong>g the vertical position of a channel<br />
The vertical position of a channel on the screen is software adjustable. When sett<strong>in</strong>g the vertical position of a channel<br />
the signal is adjusted graphically after all the samples have been taken. This only affects the display<strong>in</strong>g of the signal.<br />
If the <strong>in</strong>put signal is clipped, because it is larger than the selected <strong>in</strong>put sensitivity range, and the signal is adjusted,<br />
the signal stays clipped. The clipp<strong>in</strong>g will show very clearly on the screen. The signal is cut off at the top or bottom.<br />
This position<strong>in</strong>g method is ma<strong>in</strong>ly used to move signals which overlap each other on the screen.<br />
The software position<strong>in</strong>g can be changed by us<strong>in</strong>g a menu or by dragg<strong>in</strong>g the vertical axes. To adjust the offset by<br />
means of a menu, enter the Ch1 menu and select the choice Software offset ... A dialog box appears <strong>in</strong> which the offset<br />
can be entered. The value is <strong>in</strong> Volts.<br />
The easiest way of adjust<strong>in</strong>g the offset is by dragg<strong>in</strong>g the axis. This is d<strong>one</strong> by press<strong>in</strong>g the left mouse button with<strong>in</strong><br />
the vertical axis, but not over the <strong>in</strong>verted area (on the top and bottom of the axes) and mov<strong>in</strong>g the mouse up or down<br />
while keep<strong>in</strong>g the mouse button pressed.<br />
Magnify<strong>in</strong>g or reduc<strong>in</strong>g the vertical axis<br />
The measured values can be magnified or reduced by the software, by the Software ga<strong>in</strong>. By do<strong>in</strong>g this, the vertical<br />
axes can be made larger or smaller.<br />
This can be used to display two signals of different sizes on the screen, to be compared more easily. For example: Ch1<br />
is measur<strong>in</strong>g a 5 Volt signal, Ch2 is measur<strong>in</strong>g a 4 volt signal. Set the ga<strong>in</strong> of Ch1 to 0.8 and the ga<strong>in</strong> of Ch2 to 1.<br />
Both signals are displayed with the same size.<br />
Another application is to display two signals <strong>in</strong> a 'split screen mode'. By sett<strong>in</strong>g the ga<strong>in</strong> of the channels to 0.5 and the<br />
offset of Ch1 2 divs up and the offset of Ch2 2 divs down, the channels are displayed separately.<br />
The software ga<strong>in</strong> can be changed by us<strong>in</strong>g a menu or by dragg<strong>in</strong>g the vertical axes. To adjust the software ga<strong>in</strong><br />
through the menu, enter the Ch1 menu and select the choice Software ga<strong>in</strong>... A dialog box appears <strong>in</strong> which the ga<strong>in</strong><br />
can be entered. The value of the ga<strong>in</strong> has to be between 0.25 and 4, where values smaller than 1 make the signal<br />
appear smaller and values larger than 1 make the signal appear larger. To change the software ga<strong>in</strong> by dragg<strong>in</strong>g the<br />
vertical axis, place the mouse po<strong>in</strong>ter over either the upper most or the lower most label of the vertical axis. These<br />
labels are drawn <strong>in</strong>verted. When the mouse po<strong>in</strong>ter is over <strong>one</strong> of these labels, press the left mouse button and drag<br />
the label upwards or downwards, thereby enlarg<strong>in</strong>g or shr<strong>in</strong>k<strong>in</strong>g the axis and the signal.<br />
Invert<strong>in</strong>g a channel<br />
With the software it is possible to <strong>in</strong>vert the signal of a channel. This software <strong>in</strong>vert multiplies all measured values<br />
by -1 and adapts the values along the vertical axis accord<strong>in</strong>gly.<br />
There are three ways to <strong>in</strong>vert a signal: by means of a menu, by means the keyboard and by press<strong>in</strong>g the <strong>in</strong>vert button.<br />
The Invert menu is found <strong>in</strong> the Ch1 menu. In this menu two choices are available to switch the <strong>in</strong>vert on or off.<br />
A few keys have been reserved to set the <strong>in</strong>vert:<br />
toggles the <strong>in</strong>vert of channel 1<br />
toggles the <strong>in</strong>vert of channel 2<br />
The <strong>Oscilloscope</strong><br />
33