HP ProBook 4540s Notebook PC Reference Guide - static ...
HP ProBook 4540s Notebook PC Reference Guide - static ...
HP ProBook 4540s Notebook PC Reference Guide - static ...
Create successful ePaper yourself
Turn your PDF publications into a flip-book with our unique Google optimized e-Paper software.
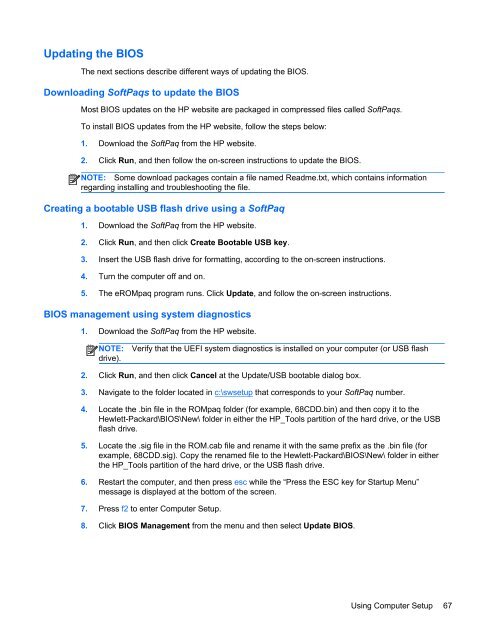
Updating the BIOS<br />
The next sections describe different ways of updating the BIOS.<br />
Downloading SoftPaqs to update the BIOS<br />
Most BIOS updates on the <strong>HP</strong> website are packaged in compressed files called SoftPaqs.<br />
To install BIOS updates from the <strong>HP</strong> website, follow the steps below:<br />
1. Download the SoftPaq from the <strong>HP</strong> website.<br />
2. Click Run, and then follow the on-screen instructions to update the BIOS.<br />
NOTE: Some download packages contain a file named Readme.txt, which contains information<br />
regarding installing and troubleshooting the file.<br />
Creating a bootable USB flash drive using a SoftPaq<br />
1. Download the SoftPaq from the <strong>HP</strong> website.<br />
2. Click Run, and then click Create Bootable USB key.<br />
3. Insert the USB flash drive for formatting, according to the on-screen instructions.<br />
4. Turn the computer off and on.<br />
5. The eROMpaq program runs. Click Update, and follow the on-screen instructions.<br />
BIOS management using system diagnostics<br />
1. Download the SoftPaq from the <strong>HP</strong> website.<br />
NOTE:<br />
drive).<br />
Verify that the UEFI system diagnostics is installed on your computer (or USB flash<br />
2. Click Run, and then click Cancel at the Update/USB bootable dialog box.<br />
3. Navigate to the folder located in c:\swsetup that corresponds to your SoftPaq number.<br />
4. Locate the .bin file in the ROMpaq folder (for example, 68CDD.bin) and then copy it to the<br />
Hewlett-Packard\BIOS\New\ folder in either the <strong>HP</strong>_Tools partition of the hard drive, or the USB<br />
flash drive.<br />
5. Locate the .sig file in the ROM.cab file and rename it with the same prefix as the .bin file (for<br />
example, 68CDD.sig). Copy the renamed file to the Hewlett-Packard\BIOS\New\ folder in either<br />
the <strong>HP</strong>_Tools partition of the hard drive, or the USB flash drive.<br />
6. Restart the computer, and then press esc while the “Press the ESC key for Startup Menu”<br />
message is displayed at the bottom of the screen.<br />
7. Press f2 to enter Computer Setup.<br />
8. Click BIOS Management from the menu and then select Update BIOS.<br />
Using Computer Setup 67


