ASXpress Operator's Manual - CETAC Technologies
ASXpress Operator's Manual - CETAC Technologies
ASXpress Operator's Manual - CETAC Technologies
You also want an ePaper? Increase the reach of your titles
YUMPU automatically turns print PDFs into web optimized ePapers that Google loves.
<strong>ASXpress</strong> Rapid Sample Introduction System Operator’s <strong>Manual</strong><br />
Chapter 3: Installing the Rapid Sample Introduction System<br />
3 Installing the ASXPRESS Rapid Sample<br />
Introduction System<br />
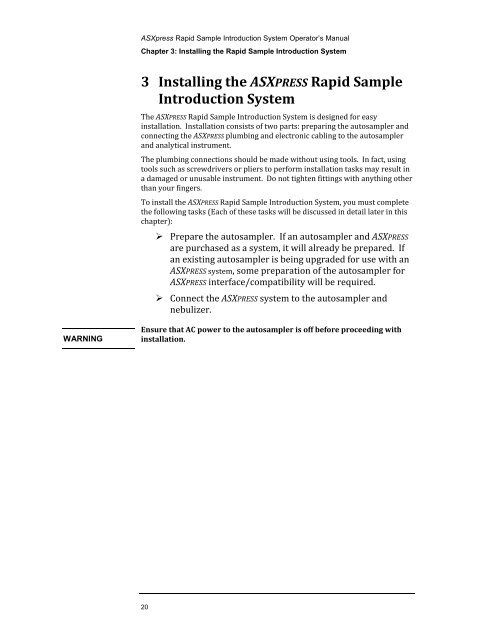
The ASXPRESS Rapid Sample Introduction System is designed for easy<br />
installation. Installation consists of two parts: preparing the autosampler and<br />
connecting the ASXPRESS plumbing and electronic cabling to the autosampler<br />
and analytical instrument.<br />
The plumbing connections should be made without using tools. In fact, using<br />
tools such as screwdrivers or pliers to perform installation tasks may result in<br />
a damaged or unusable instrument. Do not tighten fittings with anything other<br />
than your fingers.<br />
To install the ASXPRESS Rapid Sample Introduction System, you must complete<br />
the following tasks (Each of these tasks will be discussed in detail later in this<br />
chapter):<br />
‣ Prepare the autosampler. If an autosampler and ASXPRESS<br />
are purchased as a system, it will already be prepared. If<br />
an existing autosampler is being upgraded for use with an<br />
ASXPRESS system, some preparation of the autosampler for<br />
ASXPRESS interface/compatibility will be required.<br />
‣ Connect the ASXPRESS system to the autosampler and<br />
nebulizer.<br />
WARNING<br />
Ensure that AC power to the autosampler is off before proceeding with<br />
installation.<br />
20


