DSLBD Office Fit Out - Broughton Construction Company
DSLBD Office Fit Out - Broughton Construction Company
DSLBD Office Fit Out - Broughton Construction Company

You also want an ePaper? Increase the reach of your titles
YUMPU automatically turns print PDFs into web optimized ePapers that Google loves.
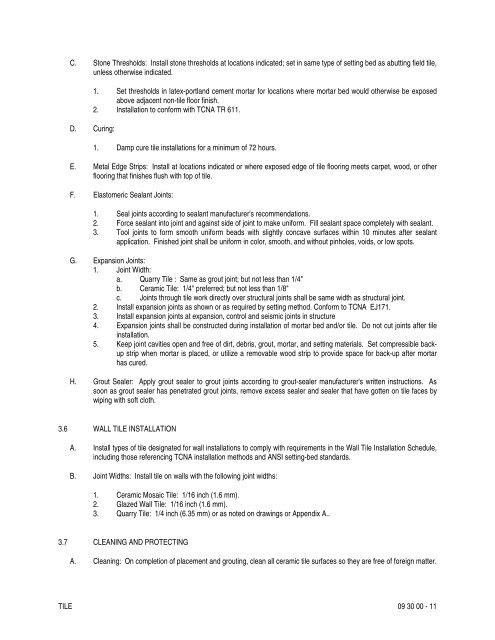
C. Stone Thresholds: Install stone thresholds at locations indicated; set in same type of setting bed as abutting field tile,<br />
unless otherwise indicated.<br />
1. Set thresholds in latex-portland cement mortar for locations where mortar bed would otherwise be exposed<br />
above adjacent non-tile floor finish.<br />
2. Installation to conform with TCNA TR 611.<br />
D. Curing:<br />
1. Damp cure tile installations for a minimum of 72 hours.<br />
E. Metal Edge Strips: Install at locations indicated or where exposed edge of tile flooring meets carpet, wood, or other<br />
flooring that finishes flush with top of tile.<br />
F. Elastomeric Sealant Joints:<br />
1. Seal joints according to sealant manufacturer's recommendations.<br />
2. Force sealant into joint and against side of joint to make uniform. Fill sealant space completely with sealant.<br />
3. Tool joints to form smooth uniform beads with slightly concave surfaces within 10 minutes after sealant<br />
application. Finished joint shall be uniform in color, smooth, and without pinholes, voids, or low spots.<br />
G. Expansion Joints:<br />
1. Joint Width:<br />
a. Quarry Tile : Same as grout joint; but not less than 1/4"<br />
b. Ceramic Tile: 1/4" preferred; but not less than 1/8"<br />
c. Joints through tile work directly over structural joints shall be same width as structural joint.<br />
2. Install expansion joints as shown or as required by setting method. Conform to TCNA EJ171.<br />
3. Install expansion joints at expansion, control and seismic joints in structure<br />
4. Expansion joints shall be constructed during installation of mortar bed and/or tile. Do not cut joints after tile<br />
installation.<br />
5. Keep joint cavities open and free of dirt, debris, grout, mortar, and setting materials. Set compressible backup<br />
strip when mortar is placed, or utilize a removable wood strip to provide space for back-up after mortar<br />
has cured.<br />
H. Grout Sealer: Apply grout sealer to grout joints according to grout-sealer manufacturer's written instructions. As<br />
soon as grout sealer has penetrated grout joints, remove excess sealer and sealer that have gotten on tile faces by<br />
wiping with soft cloth.<br />
3.6 WALL TILE INSTALLATION<br />
A. Install types of tile designated for wall installations to comply with requirements in the Wall Tile Installation Schedule,<br />
including those referencing TCNA installation methods and ANSI setting-bed standards.<br />
B. Joint Widths: Install tile on walls with the following joint widths:<br />
1. Ceramic Mosaic Tile: 1/16 inch (1.6 mm).<br />
2. Glazed Wall Tile: 1/16 inch (1.6 mm).<br />
3. Quarry Tile: 1/4 inch (6.35 mm) or as noted on drawings or Appendix A..<br />
3.7 CLEANING AND PROTECTING<br />
A. Cleaning: On completion of placement and grouting, clean all ceramic tile surfaces so they are free of foreign matter.<br />
TILE 09 30 00 - 11