1 Surgery CAMLOG Compendium
1 Surgery CAMLOG Compendium
1 Surgery CAMLOG Compendium

You also want an ePaper? Increase the reach of your titles
YUMPU automatically turns print PDFs into web optimized ePapers that Google loves.
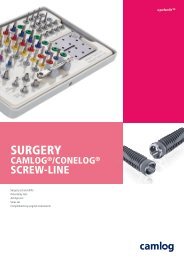
<strong>Surgery</strong> Manual<br />
SCREW-CYLINDER-LINE Insertion<br />
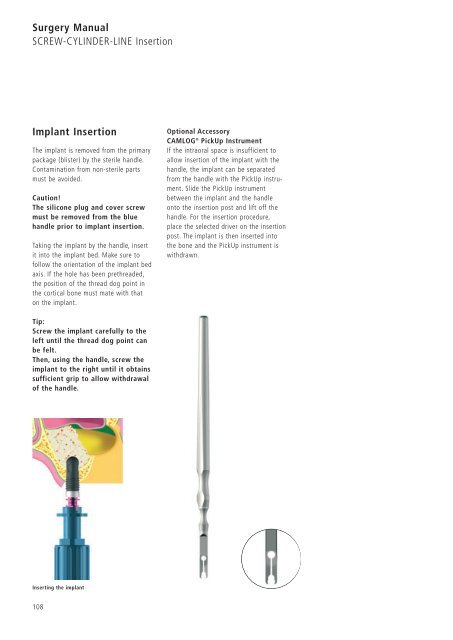
Implant Insertion<br />
The implant is removed from the primary<br />
package (blister) by the sterile handle.<br />
Contamination from non-sterile parts<br />
must be avoided.<br />
Caution!<br />
The silicone plug and cover screw<br />
must be removed from the blue<br />
handle prior to implant insertion.<br />
Taking the implant by the handle, insert<br />
it into the implant bed. Make sure to<br />
follow the orientation of the implant bed<br />
axis. If the hole has been prethreaded,<br />
the position of the thread dog point in<br />
the cortical bone must mate with that<br />
on the implant.<br />
Tip:<br />
Screw the implant carefully to the<br />
left until the thread dog point can<br />
be felt.<br />
Then, using the handle, screw the<br />
implant to the right until it obtains<br />
sufficient grip to allow withdrawal<br />
of the handle.<br />
Inserting the implant<br />
108<br />
Optional Accessory<br />
<strong>CAMLOG</strong> ® PickUp Instrument<br />
If the intraoral space is insufficient to<br />
allow insertion of the implant with the<br />
handle, the implant can be separated<br />
from the handle with the PickUp instrument.<br />
Slide the PickUp instrument<br />
between the implant and the handle<br />
onto the insertion post and lift off the<br />
handle. For the insertion procedure,<br />
place the selected driver on the insertion<br />
post. The implant is then inserted into<br />
the bone and the PickUp instrument is<br />
withdrawn.