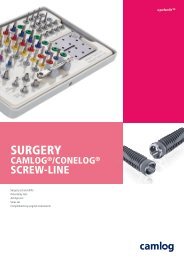
1 Surgery CAMLOG Compendium
1 Surgery CAMLOG Compendium
1 Surgery CAMLOG Compendium

Create successful ePaper yourself
Turn your PDF publications into a flip-book with our unique Google optimized e-Paper software.
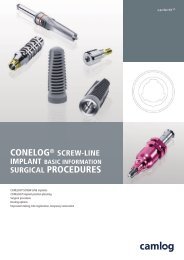
<strong>Surgery</strong> Manual<br />
Healing Cap<br />
Healing Caps -<br />
cylindrical and wide body<br />
For standard use, the most common<br />
healing caps are the cylindrical and wide<br />
body types. Once the cover screw has<br />
been removed, a diameter-matched healing<br />
cap is manually inserted with use of<br />
a screwdriver. When selecting the gingival<br />
height, make sure that the healing<br />
cap extends 1 - 1.5 mm above the gingiva.<br />
When the peri-implant soft tissue has<br />
stabilized, an impression is taken.<br />
Healing Cap -<br />
bottleneck<br />
In esthetically challenging areas, the<br />
treatment result will be enhanced<br />
through the use of a healing cap<br />
bottleneck.<br />
Healing phase<br />
138<br />
Healing cap, cylindrical<br />
The coronally rejuvenated cross-section<br />
promotes soft tissue growth during the<br />
healing period.<br />
Soft tissue growth<br />
Healing cap, wide body<br />
After 3-4 weeks (before final structuring<br />
of the elastic fibers) a healing cap cylindrical<br />
is inserted. No tissue should be<br />
excised during this procedure. The tissue<br />
is suppressed coronally and thereby<br />
forms a papilla-like structure. Once the<br />
periimplant soft tissue has stabilized, an<br />
impression can be taken.<br />
Coronal displacement of the<br />
soft tissue through replacement<br />
with a healing cap cylindrical