
You also want an ePaper? Increase the reach of your titles
YUMPU automatically turns print PDFs into web optimized ePapers that Google loves.
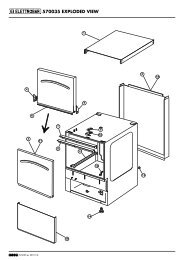
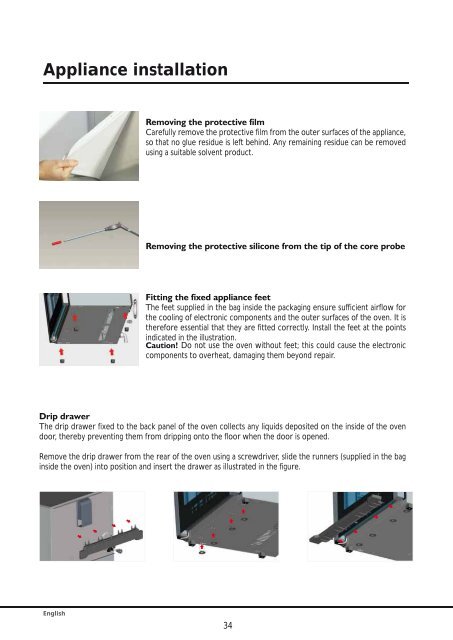
Appliance installation<br />
English<br />
Removing the protective film<br />
Carefully remove the protective film from the outer surfaces of the appliance,<br />
so that no glue residue is left behind. Any remaining residue can be removed<br />
using a suitable solvent product.<br />
Removing the protective silicone from the tip of the core probe<br />
Fitting the fixed appliance feet<br />
The feet supplied in the bag inside the packaging ensure sufficient airflow for<br />
the cooling of electronic components and the outer surfaces of the oven. It is<br />
therefore essential that they are fitted correctly. Install the feet at the points<br />
indicated in the illustration.<br />
Caution! Do not use the oven without feet; this could cause the electronic<br />
components to overheat, damaging them beyond repair.<br />
Drip drawer<br />
The drip drawer fixed to the back panel of the oven collects any liquids deposited on the inside of the oven<br />
door, thereby preventing them from dripping onto the floor when the door is opened.<br />
Remove the drip drawer from the rear of the oven using a screwdriver, slide the runners (supplied in the bag<br />
inside the oven) into position and insert the drawer as illustrated in the figure.<br />
34