Wireless G Router - Belkin
Wireless G Router - Belkin
Wireless G Router - Belkin

Create successful ePaper yourself
Turn your PDF publications into a flip-book with our unique Google optimized e-Paper software.
section<br />
1<br />
2<br />
3<br />
4<br />
5<br />
6<br />
7<br />
8<br />
9<br />
10<br />
11<br />
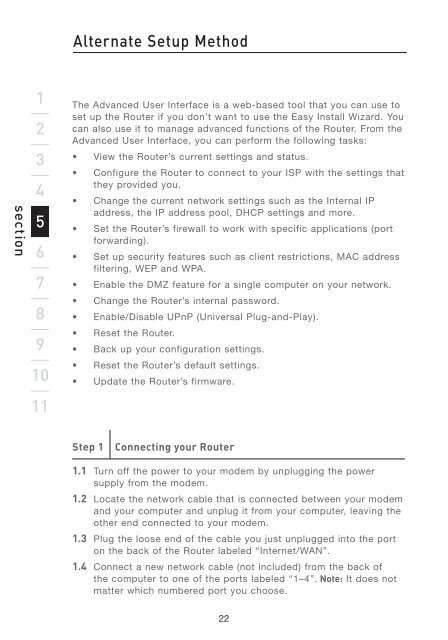
Alternate Setup Method<br />
The Advanced User Interface is a web-based tool that you can use to<br />
set up the <strong>Router</strong> if you don’t want to use the Easy Install Wizard. You<br />
can also use it to manage advanced functions of the <strong>Router</strong>. From the<br />
Advanced User Interface, you can perform the following tasks:<br />
• View the <strong>Router</strong>’s current settings and status.<br />
• Configure the <strong>Router</strong> to connect to your ISP with the settings that<br />
they provided you.<br />
• Change the current network settings such as the Internal IP<br />
address, the IP address pool, DHCP settings and more.<br />
• Set the <strong>Router</strong>’s firewall to work with specific applications (port<br />
forwarding).<br />
• Set up security features such as client restrictions, MAC address<br />
filtering, WEP and WPA.<br />
• Enable the DMZ feature for a single computer on your network.<br />
• Change the <strong>Router</strong>’s internal password.<br />
• Enable/Disable UPnP (Universal Plug-and-Play).<br />
• Reset the <strong>Router</strong>.<br />
• Back up your configuration settings.<br />
• Reset the <strong>Router</strong>’s default settings.<br />
• Update the <strong>Router</strong>’s firmware.<br />
Step 1 Connecting your <strong>Router</strong><br />
1.1 Turn off the power to your modem by unplugging the power<br />
supply from the modem.<br />
1.2 Locate the network cable that is connected between your modem<br />
and your computer and unplug it from your computer, leaving the<br />
other end connected to your modem.<br />
1.3 Plug the loose end of the cable you just unplugged into the port<br />
on the back of the <strong>Router</strong> labeled “Internet/WAN”.<br />
1.4 Connect a new network cable (not included) from the back of<br />
the computer to one of the ports labeled “1–4”. Note: It does not<br />
matter which numbered port you choose.<br />
22