Wireless G Router - Belkin
Wireless G Router - Belkin
Wireless G Router - Belkin

You also want an ePaper? Increase the reach of your titles
YUMPU automatically turns print PDFs into web optimized ePapers that Google loves.
Using the Web-Based Advanced User Interface<br />
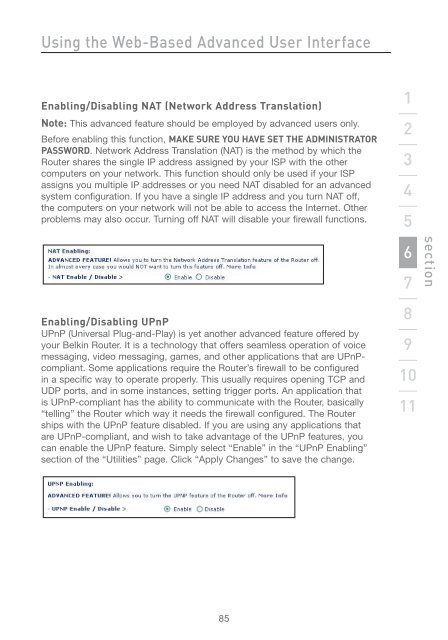
Enabling/Disabling NAT (Network Address Translation)<br />
Note: This advanced feature should be employed by advanced users only.<br />
Before enabling this function, MAKE SURE YOU HAVE SET THE ADMINISTRATOR<br />
PASSWORD. Network Address Translation (NAT) is the method by which the<br />
<strong>Router</strong> shares the single IP address assigned by your ISP with the other<br />
computers on your network. This function should only be used if your ISP<br />
assigns you multiple IP addresses or you need NAT disabled for an advanced<br />
system configuration. If you have a single IP address and you turn NAT off,<br />
the computers on your network will not be able to access the Internet. Other<br />
problems may also occur. Turning off NAT will disable your firewall functions.<br />
Enabling/Disabling UPnP<br />
UPnP (Universal Plug-and-Play) is yet another advanced feature offered by<br />
your <strong>Belkin</strong> <strong>Router</strong>. It is a technology that offers seamless operation of voice<br />
messaging, video messaging, games, and other applications that are UPnPcompliant.<br />
Some applications require the <strong>Router</strong>’s firewall to be configured<br />
in a specific way to operate properly. This usually requires opening TCP and<br />
UDP ports, and in some instances, setting trigger ports. An application that<br />
is UPnP-compliant has the ability to communicate with the <strong>Router</strong>, basically<br />
“telling” the <strong>Router</strong> which way it needs the firewall configured. The <strong>Router</strong><br />
ships with the UPnP feature disabled. If you are using any applications that<br />
are UPnP-compliant, and wish to take advantage of the UPnP features, you<br />
can enable the UPnP feature. Simply select “Enable” in the “UPnP Enabling”<br />
section of the “Utilities” page. Click “Apply Changes” to save the change.<br />
85<br />
1<br />
2<br />
3<br />
4<br />
5<br />
6<br />
7<br />
8<br />
9<br />
10<br />
11<br />
section