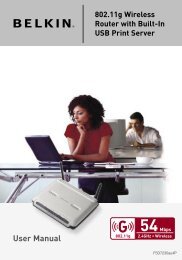
Wireless G Router - Belkin
Wireless G Router - Belkin
Wireless G Router - Belkin

You also want an ePaper? Increase the reach of your titles
YUMPU automatically turns print PDFs into web optimized ePapers that Google loves.
section<br />
1<br />
2<br />
3<br />
4<br />
5<br />
6<br />
7<br />
8<br />
9<br />
10<br />
11<br />
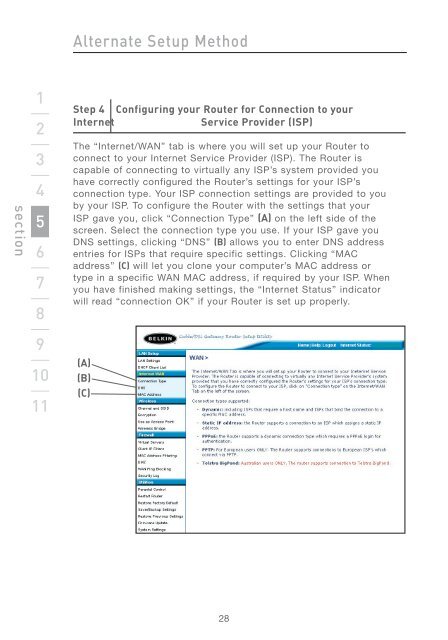
Alternate Setup Method<br />
Step 4 Configuring your <strong>Router</strong> for Connection to your<br />
Internet Service Provider (ISP)<br />
The “Internet/WAN” tab is where you will set up your <strong>Router</strong> to<br />
connect to your Internet Service Provider (ISP). The <strong>Router</strong> is<br />
capable of connecting to virtually any ISP’s system provided you<br />
have correctly configured the <strong>Router</strong>’s settings for your ISP’s<br />
connection type. Your ISP connection settings are provided to you<br />
by your ISP. To configure the <strong>Router</strong> with the settings that your<br />
ISP gave you, click “Connection Type” (A) on the left side of the<br />
screen. Select the connection type you use. If your ISP gave you<br />
DNS settings, clicking “DNS” (B) allows you to enter DNS address<br />
entries for ISPs that require specific settings. Clicking “MAC<br />
address” (C) will let you clone your computer’s MAC address or<br />
type in a specific WAN MAC address, if required by your ISP. When<br />
you have finished making settings, the “Internet Status” indicator<br />
will read “connection OK” if your <strong>Router</strong> is set up properly.<br />
(A)<br />
(B)<br />
(C)<br />
28