Create successful ePaper yourself
Turn your PDF publications into a flip-book with our unique Google optimized e-Paper software.
124<br />
Getting Started with CreativeStudio<br />
4.3.5 Borders with Custom Corners<br />
To get a visually seamless continuous flow around corners, customized corners are<br />
needed. The corner and border patterns are designed to fit together. The best<br />
results happen when the patterns can maintain their original proportions, so Freeze<br />
Aspect is important.<br />
Tip: It is a good idea to preview how the corners and border<br />
patterns will fit together before stitching anything.<br />
* Start with the Border/Corner feature, using the actual quilt<br />
measurements. Place the corner patterns but don't stitch them yet.<br />
* Continue with the Repeat Pattern feature also using the actual<br />
quilt measurements. Place the border patterns and check the size<br />
and alignment, but don't stitch them yet.<br />
* Draw a sketch and make notes of the measurements.<br />
* Extend the sketch to include the side border placement. Be sure the<br />
border pattern fits the side borders as well as the top/bottom<br />
borders.<br />
* SAVE the project !<br />
Feature: Repeat Pattern<br />
Assumptions: Quilt was measured, a diagram is drawn and the target border<br />
dimensions have been determined. The quilt top is loaded and stabilized, machine is<br />
threaded, bobbins wound, belts engaged, and patterns have been added to the<br />
project. You know the pattern repeats and corners will fit this quilt so Custom<br />
Corners have been stitched using Border/Corner 112 as follows:<br />
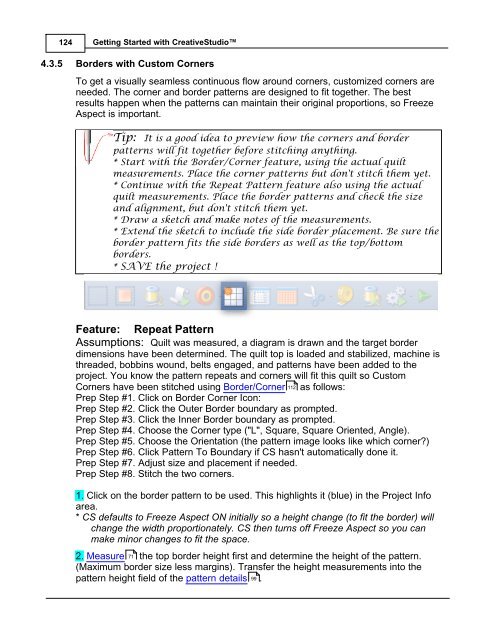
Prep Step #1. Click on Border Corner Icon:<br />
Prep Step #2. Click the Outer Border boundary as prompted.<br />
Prep Step #3. Click the Inner Border boundary as prompted.<br />
Prep Step #4. Choose the Corner type ("L", Square, Square Oriented, Angle).<br />
Prep Step #5. Choose the Orientation (the pattern image looks like which corner?)<br />
Prep Step #6. Click Pattern To Boundary if CS hasn't automatically done it.<br />
Prep Step #7. Adjust size and placement if needed.<br />
Prep Step #8. Stitch the two corners.<br />
1. Click on the border pattern to be used. This highlights it (blue) in the Project Info<br />
area.<br />
* CS defaults to Freeze Aspect ON initially so a height change (to fit the border) will<br />
change the width proportionately. CS then turns off Freeze Aspect so you can<br />
make minor changes to fit the space.<br />
2. Measure 71 the top border height first and determine the height of the pattern.<br />
(Maximum border size less margins). Transfer the height measurements into the<br />
pattern height field of the pattern details 99<br />
.


