Blackmagic ATEM Manual - Concept Music Art
Blackmagic ATEM Manual - Concept Music Art
Blackmagic ATEM Manual - Concept Music Art

Create successful ePaper yourself
Turn your PDF publications into a flip-book with our unique Google optimized e-Paper software.
16<br />
Getting Started<br />
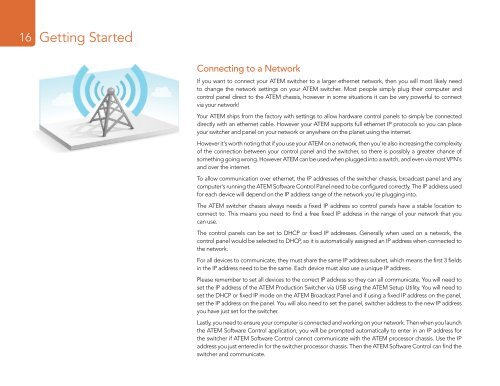
Connecting to a Network<br />
If you want to connect your <strong>ATEM</strong> switcher to a larger ethernet network, then you will most likely need<br />
to change the network settings on your <strong>ATEM</strong> switcher. Most people simply plug their computer and<br />
control panel direct to the <strong>ATEM</strong> chassis, however in some situations it can be very powerful to connect<br />
via your network!<br />
Your <strong>ATEM</strong> ships from the factory with settings to allow hardware control panels to simply be connected<br />
directly with an ethernet cable. However your <strong>ATEM</strong> supports full ethernet IP protocols so you can place<br />
your switcher and panel on your network or anywhere on the planet using the internet.<br />
However it's worth noting that if you use your <strong>ATEM</strong> on a network, then you’re also increasing the complexity<br />
of the connection between your control panel and the switcher, so there is possibly a greater chance of<br />
something going wrong. However <strong>ATEM</strong> can be used when plugged into a switch, and even via most VPN's<br />
and over the internet.<br />
To allow communication over ethernet, the IP addresses of the switcher chassis, broadcast panel and any<br />
computer's running the <strong>ATEM</strong> Software Control Panel need to be configured correctly. The IP address used<br />
for each device will depend on the IP address range of the network you’re plugging into.<br />
The <strong>ATEM</strong> switcher chassis always needs a fixed IP address so control panels have a stable location to<br />
connect to. This means you need to find a free fixed IP address in the range of your network that you<br />
can use.<br />
The control panels can be set to DHCP or fixed IP addresses. Generally when used on a network, the<br />
control panel would be selected to DHCP, so it is automatically assigned an IP address when connected to<br />
the network.<br />
For all devices to communicate, they must share the same IP address subnet, which means the first 3 fields<br />
in the IP address need to be the same. Each device must also use a unique IP address.<br />
Please remember to set all devices to the correct IP address so they can all communicate. You will need to<br />
set the IP address of the <strong>ATEM</strong> Production Switcher via USB using the <strong>ATEM</strong> Setup Utility. You will need to<br />
set the DHCP or fixed IP mode on the <strong>ATEM</strong> Broadcast Panel and if using a fixed IP address on the panel,<br />
set the IP address on the panel. You will also need to set the panel, switcher address to the new IP address<br />
you have just set for the switcher.<br />
Lastly, you need to ensure your computer is connected and working on your network. Then when you launch<br />
the <strong>ATEM</strong> Software Control application, you will be prompted automatically to enter in an IP address for<br />
the switcher if <strong>ATEM</strong> Software Control cannot communicate with the <strong>ATEM</strong> processor chassis. Use the IP<br />
address you just entered in for the switcher processor chassis. Then the <strong>ATEM</strong> Software Control can find the<br />
switcher and communicate.