Getting Started with InfoSphere Data Architect

You also want an ePaper? Increase the reach of your titles
YUMPU automatically turns print PDFs into web optimized ePapers that Google loves.
118 <strong>Getting</strong> started <strong>with</strong> <strong>InfoSphere</strong> <strong>Data</strong> <strong>Architect</strong><br />
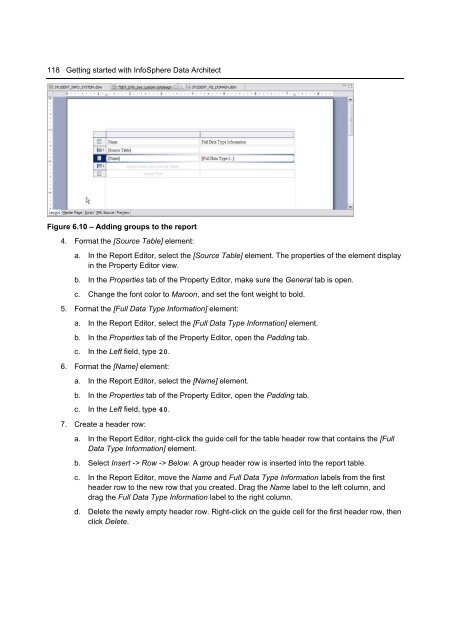
Figure 6.10 – Adding groups to the report<br />
4. Format the [Source Table] element:<br />
a. In the Report Editor, select the [Source Table] element. The properties of the element display<br />
in the Property Editor view.<br />
b. In the Properties tab of the Property Editor, make sure the General tab is open.<br />
c. Change the font color to Maroon, and set the font weight to bold.<br />
5. Format the [Full <strong>Data</strong> Type Information] element:<br />
a. In the Report Editor, select the [Full <strong>Data</strong> Type Information] element.<br />
b. In the Properties tab of the Property Editor, open the Padding tab.<br />
c. In the Left field, type 20.<br />
6. Format the [Name] element:<br />
a. In the Report Editor, select the [Name] element.<br />
b. In the Properties tab of the Property Editor, open the Padding tab.<br />
c. In the Left field, type 40.<br />
7. Create a header row:<br />
a. In the Report Editor, right-click the guide cell for the table header row that contains the [Full<br />
<strong>Data</strong> Type Information] element.<br />
b. Select Insert -> Row -> Below. A group header row is inserted into the report table.<br />
c. In the Report Editor, move the Name and Full <strong>Data</strong> Type Information labels from the first<br />
header row to the new row that you created. Drag the Name label to the left column, and<br />
drag the Full <strong>Data</strong> Type Information label to the right column.<br />
d. Delete the newly empty header row. Right-click on the guide cell for the first header row, then<br />
click Delete.