ISQ User Guide - Write Frame of Mind
ISQ User Guide - Write Frame of Mind
ISQ User Guide - Write Frame of Mind

Create successful ePaper yourself
Turn your PDF publications into a flip-book with our unique Google optimized e-Paper software.
1 Changing the Column<br />
Replacing the Factory-Installed Column<br />
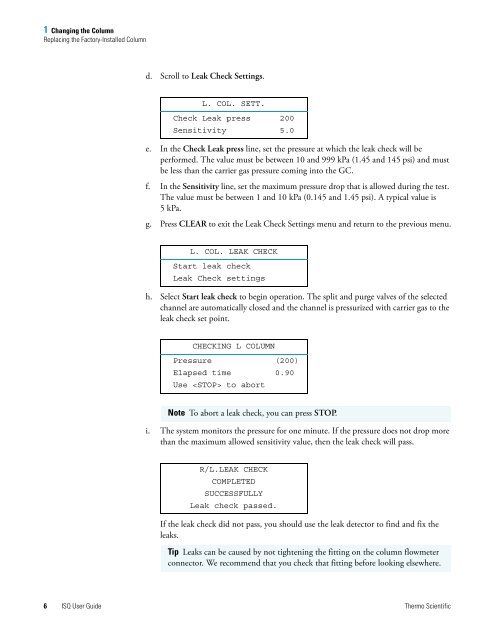
d. Scroll to Leak Check Settings.<br />
L. COL. SETT.<br />
Check Leak press 200<br />
Sensitivity 5.0<br />
e. In the Check Leak press line, set the pressure at which the leak check will be<br />
performed. The value must be between 10 and 999 kPa (1.45 and 145 psi) and must<br />
be less than the carrier gas pressure coming into the GC.<br />
f. In the Sensitivity line, set the maximum pressure drop that is allowed during the test.<br />
The value must be between 1 and 10 kPa (0.145 and 1.45 psi). A typical value is<br />
5kPa.<br />
g. Press CLEAR to exit the Leak Check Settings menu and return to the previous menu.<br />
L. COL. LEAK CHECK<br />
Start leak check<br />
Leak Check settings<br />
h. Select Start leak check to begin operation. The split and purge valves <strong>of</strong> the selected<br />
channel are automatically closed and the channel is pressurized with carrier gas to the<br />
leak check set point.<br />
CHECKING L COLUMN<br />
Pressure (200)<br />
Elapsed time 0.90<br />
Use to abort<br />
Note To abort a leak check, you can press STOP.<br />
i. The system monitors the pressure for one minute. If the pressure does not drop more<br />
than the maximum allowed sensitivity value, then the leak check will pass.<br />
R/L.LEAK CHECK<br />
COMPLETED<br />
SUCCESSFULLY<br />
Leak check passed.<br />
If the leak check did not pass, you should use the leak detector to find and fix the<br />
leaks.<br />
Tip Leaks can be caused by not tightening the fitting on the column flowmeter<br />
connector. We recommend that you check that fitting before looking elsewhere.<br />
6 <strong>ISQ</strong> <strong>User</strong> <strong>Guide</strong> Thermo Scientific