Condair Dual 2 manual.pdf
Condair Dual 2 manual.pdf
Condair Dual 2 manual.pdf
- TAGS
- condair
- dual
- biossol.gr
Create successful ePaper yourself
Turn your PDF publications into a flip-book with our unique Google optimized e-Paper software.
40<br />
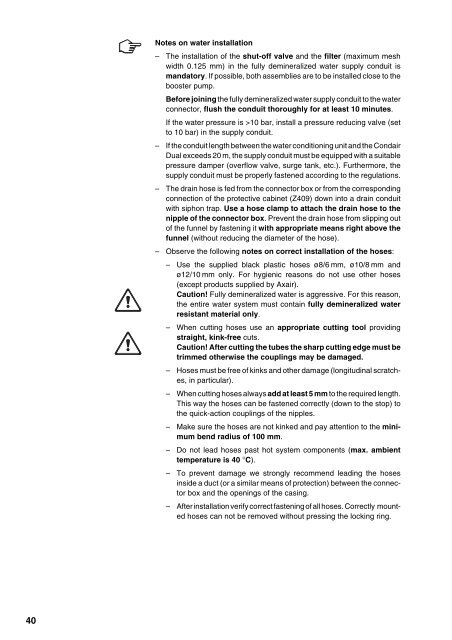
Notes on water installation<br />
– The installation of the shut-off valve and the filter (maximum mesh<br />
width 0.125 mm) in the fully demineralized water supply conduit is<br />
mandatory. If possible, both assemblies are to be installed close to the<br />
booster pump.<br />
Before joining the fully demineralized water supply conduit to the water<br />
connector, flush the conduit thoroughly for at least 10 minutes.<br />
If the water pressure is >10 bar, install a pressure reducing valve (set<br />
to 10 bar) in the supply conduit.<br />
– If the conduit length between the water conditioning unit and the <strong>Condair</strong><br />
<strong>Dual</strong> exceeds 20 m, the supply conduit must be equipped with a suitable<br />
pressure damper (overflow valve, surge tank, etc.). Furthermore, the<br />
supply conduit must be properly fastened according to the regulations.<br />
– The drain hose is fed from the connector box or from the corresponding<br />
connection of the protective cabinet (Z409) down into a drain conduit<br />
with siphon trap. Use a hose clamp to attach the drain hose to the<br />
nipple of the connector box. Prevent the drain hose from slipping out<br />
of the funnel by fastening it with appropriate means right above the<br />
funnel (without reducing the diameter of the hose).<br />
– Observe the following notes on correct installation of the hoses:<br />
– Use the supplied black plastic hoses ø8/6 mm, ø10/8 mm and<br />
ø12/10 mm only. For hygienic reasons do not use other hoses<br />
(except products supplied by Axair).<br />
Caution! Fully demineralized water is aggressive. For this reason,<br />
the entire water system must contain fully demineralized water<br />
resistant material only.<br />
– When cutting hoses use an appropriate cutting tool providing<br />
straight, kink-free cuts.<br />
Caution! After cutting the tubes the sharp cutting edge must be<br />
trimmed otherwise the couplings may be damaged.<br />
– Hoses must be free of kinks and other damage (longitudinal scratches,<br />
in particular).<br />
– When cutting hoses always add at least 5 mm to the required length.<br />
This way the hoses can be fastened correctly (down to the stop) to<br />
the quick-action couplings of the nipples.<br />
– Make sure the hoses are not kinked and pay attention to the minimum<br />
bend radius of 100 mm.<br />
– Do not lead hoses past hot system components (max. ambient<br />
temperature is 40 °C).<br />
– To prevent damage we strongly recommend leading the hoses<br />
inside a duct (or a similar means of protection) between the connector<br />
box and the openings of the casing.<br />
– After installation verify correct fastening of all hoses. Correctly mounted<br />
hoses can not be removed without pressing the locking ring.


