Emulator Composite.book - Creative
Emulator Composite.book - Creative
Emulator Composite.book - Creative

Create successful ePaper yourself
Turn your PDF publications into a flip-book with our unique Google optimized e-Paper software.
8 - TwistaLoop<br />
Using Loops<br />
Other Ways to Change Loops<br />
To change loops you can use any Cord source, such as Velocity or Pedal, in<br />
conjunction with the Loop Select Cords. One particularly useful source is the Key CC<br />
Win Cord.<br />
The Key CC Win cord allows you to set up a range of keys on your controller to control<br />
a Cord destination. Here’s an example.<br />
To Select Loops Using the Key CC Win Cord<br />
1. In the Voice Processing window, select the group containing the voice you want to<br />
control.<br />
2. Set the Loop (n) to 1. Select Start At Loop if you want to start at the beginning of<br />
the selected loop.<br />
3. Find an unused Cord, and set the Source to Key CC Win.<br />
4. Set the Cord Amount to +100.<br />
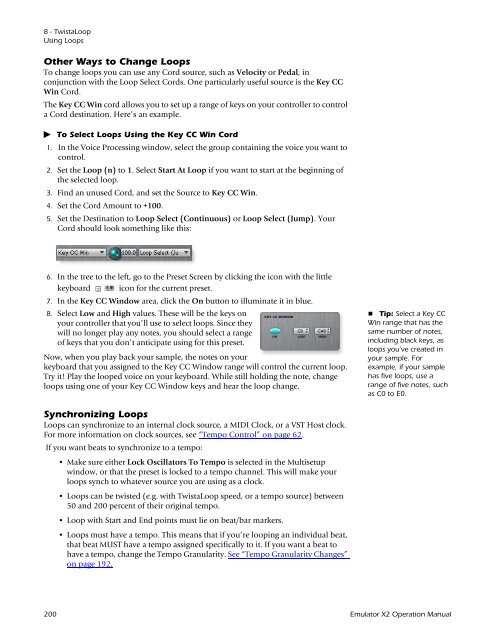
5. Set the Destination to Loop Select (Continuous) or Loop Select (Jump). Your<br />
Cord should look something like this:<br />
6. In the tree to the left, go to the Preset Screen by clicking the icon with the little<br />
keyboard icon for the current preset.<br />
7. In the Key CC Window area, click the On button to illuminate it in blue.<br />
8. Select Low and High values. These will be the keys on<br />
your controller that you’ll use to select loops. Since they<br />
will no longer play any notes, you should select a range<br />
of keys that you don’t anticipate using for this preset.<br />
Now, when you play back your sample, the notes on your<br />
keyboard that you assigned to the Key CC Window range will control the current loop.<br />
Try it! Play the looped voice on your keyboard. While still holding the note, change<br />
loops using one of your Key CC Window keys and hear the loop change.<br />
Synchronizing Loops<br />
Loops can synchronize to an internal clock source, a MIDI Clock, or a VST Host clock.<br />
For more information on clock sources, see “Tempo Control” on page 62.<br />
If you want beats to synchronize to a tempo:<br />
• Make sure either Lock Oscillators To Tempo is selected in the Multisetup<br />
window, or that the preset is locked to a tempo channel. This will make your<br />
loops synch to whatever source you are using as a clock.<br />
• Loops can be twisted (e.g. with TwistaLoop speed, or a tempo source) between<br />
50 and 200 percent of their original tempo.<br />
• Loop with Start and End points must lie on beat/bar markers.<br />
• Loops must have a tempo. This means that if you’re looping an individual beat,<br />
that beat MUST have a tempo assigned specifically to it. If you want a beat to<br />
have a tempo, change the Tempo Granularity. See “Tempo Granularity Changes”<br />
on page 192.<br />
Tip: Select a Key CC<br />
Win range that has the<br />
same number of notes,<br />
including black keys, as<br />
loops you’ve created in<br />
your sample. For<br />
example, if your sample<br />
has five loops, use a<br />
range of five notes, such<br />
as C0 to E0.<br />
200 <strong>Emulator</strong> X2 Operation Manual