Untitled - Index of - Free
Untitled - Index of - Free
Untitled - Index of - Free

Create successful ePaper yourself
Turn your PDF publications into a flip-book with our unique Google optimized e-Paper software.
RESOLUTION PATHS<br />
The questions and paths available on the 'Basic<br />
Resolution Flowchart' should be fairly self-explanatory.<br />
After some use, you may find that you no longer need to<br />
look at this chart in order to resolve your judgements. The<br />
'Advanced Resolution Flowcharts' are somewhat more<br />
condensed, and you may find yourself referring to them<br />
more <strong>of</strong>ten. If there's anything that you don't understand<br />
on either chart at first glance, don't worry, because we're<br />
going to run completely through both charts explaining all<br />
the little boxes and ovals. After this, we'll also go through<br />
a few full examples, JUst to make sure you're comfortable<br />
with the whole system<br />
Basic Resolution Paths<br />
Start by taking out all the flowcharts that accompa<br />
med the 'Core Rules' you're reading now. Take a look at<br />
the 'Basic Resolution Flowchart', starting at the top and<br />
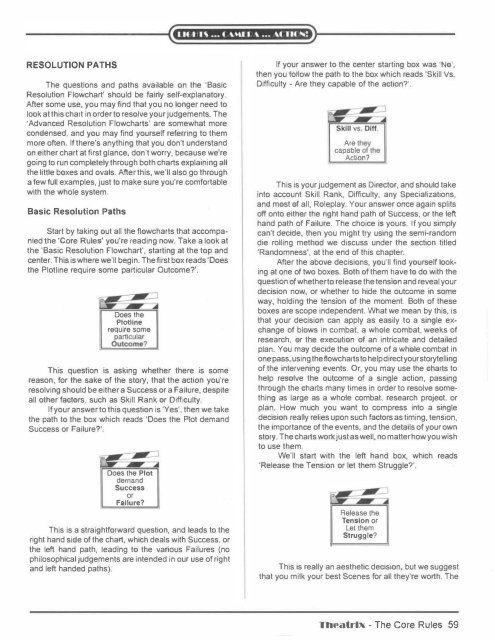
center. This is where we'll begin. The first box reads 'Does<br />
the Plotline require some particular Outcome?'.<br />
Does the<br />
Plotllne<br />
require some<br />
particular<br />
Outcome?<br />
This question is asking whether there is some<br />
reason, for the sake <strong>of</strong> the story, that the action you're<br />
resolving should be either a Success or a Failure, despite<br />
all other factors, such as Skill Rank or Difficulty.<br />
If your answer to this question is 'Yes', then we take<br />
the path to the box which reads 'Does the Plot demand<br />
Success or Failure?'<br />
Does the Plot<br />
demand<br />
Success<br />
or<br />
ll II Failure?<br />
This is a straightforward question, and leads to the<br />
right hand side <strong>of</strong> the chart, which deals with Success, or<br />
the left hand path, leading to the various Failures (no<br />
philosophical Judgements are intended in our use <strong>of</strong> right<br />
and left handed paths).<br />
If your answer to the center starting box was 'No',<br />
then you follow the path to the box which reads 'Skill Vs.<br />
Difficulty - Are they capable <strong>of</strong> the action?'<br />
Are the y<br />
capable <strong>of</strong> lhe<br />
Action? <br />
This is your judgement as Director, and should take<br />
into account Skill Rank, Difficulty, any Spectalizations,<br />
and most <strong>of</strong> all, Roleplay. Your answer once again splits<br />
<strong>of</strong>f onto either the right hand path <strong>of</strong> Success, or the left<br />
hand path <strong>of</strong> Failure. The choice IS yours If you simply<br />
can't decide, then you might try using the semi-random<br />
die rolling method we discuss under the section tttled<br />
'Randomness', at the end <strong>of</strong> this chapter.<br />
After the above decisions, you'll find yourself look<br />
ing at one <strong>of</strong> two boxes. Both <strong>of</strong> them have to do with the<br />
question <strong>of</strong> whether to release the tension and reveal your<br />
deciston now, or whether to h1de the outcome in some<br />
way, holding the tension <strong>of</strong> the moment. Both <strong>of</strong> these<br />
boxes are scope independent. What we mean by this, is<br />
that your decision can apply as easily to a s1ngle ex<br />
change <strong>of</strong> blows in combat, a whole combat, weeks <strong>of</strong><br />
research, or the execution <strong>of</strong> an intricate and detailed<br />
plan. You may dectde the outcome <strong>of</strong> a whole combat in<br />
one pass, using the flowcharts to help direct your storytelling<br />
<strong>of</strong> the interventng events. Or, you may use the charts to<br />
help resolve the outcome <strong>of</strong> a single action, passing<br />
through the charts many times in order to resolve some<br />
thing as large as a whole combat, research project, or<br />
plan. How much you want to compress into a single<br />
decision really relies upon such factors as timmg, tens1on,<br />
the importance <strong>of</strong> the events, and the details <strong>of</strong> your own<br />
story. The charts work JUSt as well, no matter how you WISh<br />
to use them<br />
We'll start with the left hand box, which reads<br />
'Release the Tension or let them Struggle?'.<br />
Release the<br />
Tension or<br />
Let them<br />
Struggle?<br />
This is really an aesthetic decis1on, but we suggest<br />
that you m1lk your best Scenes for all they're worth. The<br />
Theatrlx - The Core Rules 59