Getting Started With AuthorIT - instructional media + magic
Getting Started With AuthorIT - instructional media + magic
Getting Started With AuthorIT - instructional media + magic

You also want an ePaper? Increase the reach of your titles
YUMPU automatically turns print PDFs into web optimized ePapers that Google loves.
16 <strong>Getting</strong> <strong>Started</strong> <strong>With</strong> <strong>AuthorIT</strong><br />
The following topics provide in‐depth instructions on installing and configuring<br />
<strong>AuthorIT</strong>, ready to use, including the additional (and sometimes optional) steps<br />
required to create user accounts and work with a SQL Server database.<br />
If you are upgrading, please refer to Upgrading from a Previous Version of <strong>AuthorIT</strong><br />
(on page 9) before you continue.<br />
Step 1 - Installing the <strong>AuthorIT</strong> Server and Administration<br />
Components<br />
Before you install <strong>AuthorIT</strong> on each client computer, youʹll need to install <strong>AuthorIT</strong>ʹs<br />
server‐based and administration components:<br />
Shared data files including Library databases and various templates are installed<br />
on the server.<br />
The <strong>AuthorIT</strong> Administrator program that you use to manage <strong>AuthorIT</strong>ʹs user<br />
security and other settings is installed on the Administratorʹs computer.<br />
<strong>AuthorIT</strong>ʹs installation process makes installing across a network easier and more<br />
streamlined. We recommend that you complete this procedure from a client<br />
workstation that can view the server and has the appropriate rights to install<br />
programs onto it.<br />
To Install <strong>AuthorIT</strong> V4 Server Components<br />
1) Close all other Windows programs. This lets <strong>AuthorIT</strong> update essential<br />
components which are shared by other programs.<br />
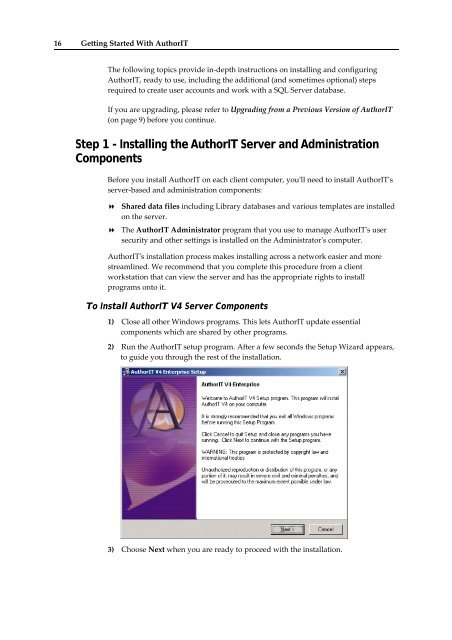
2) Run the <strong>AuthorIT</strong> setup program. After a few seconds the Setup Wizard appears,<br />
to guide you through the rest of the installation.<br />
3) Choose Next when you are ready to proceed with the installation.