Getting Started With AuthorIT - instructional media + magic
Getting Started With AuthorIT - instructional media + magic
Getting Started With AuthorIT - instructional media + magic
Create successful ePaper yourself
Turn your PDF publications into a flip-book with our unique Google optimized e-Paper software.
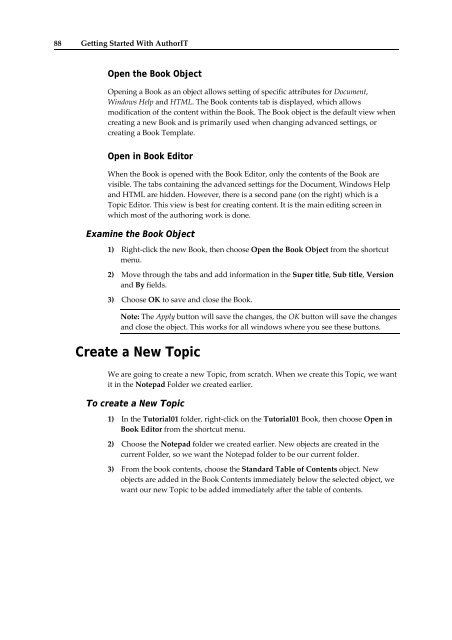
88 <strong>Getting</strong> <strong>Started</strong> <strong>With</strong> <strong>AuthorIT</strong><br />
Open the Book Object<br />
Opening a Book as an object allows setting of specific attributes for Document,<br />
Windows Help and HTML. The Book contents tab is displayed, which allows<br />
modification of the content within the Book. The Book object is the default view when<br />
creating a new Book and is primarily used when changing advanced settings, or<br />
creating a Book Template.<br />
Open in Book Editor<br />
When the Book is opened with the Book Editor, only the contents of the Book are<br />
visible. The tabs containing the advanced settings for the Document, Windows Help<br />
and HTML are hidden. However, there is a second pane (on the right) which is a<br />
Topic Editor. This view is best for creating content. It is the main editing screen in<br />
which most of the authoring work is done.<br />
Examine the Book Object<br />
1) Right‐click the new Book, then choose Open the Book Object from the shortcut<br />
menu.<br />
2) Move through the tabs and add information in the Super title, Sub title, Version<br />
and By fields.<br />
3) Choose OK to save and close the Book.<br />
Note: The Apply button will save the changes, the OK button will save the changes<br />
and close the object. This works for all windows where you see these buttons.<br />
Create a New Topic<br />
We are going to create a new Topic, from scratch. When we create this Topic, we want<br />
it in the Notepad Folder we created earlier.<br />
To create a New Topic<br />
1) In the Tutorial01 folder, right‐click on the Tutorial01 Book, then choose Open in<br />
Book Editor from the shortcut menu.<br />
2) Choose the Notepad folder we created earlier. New objects are created in the<br />
current Folder, so we want the Notepad folder to be our current folder.<br />
3) From the book contents, choose the Standard Table of Contents object. New<br />
objects are added in the Book Contents im<strong>media</strong>tely below the selected object, we<br />
want our new Topic to be added im<strong>media</strong>tely after the table of contents.


