Getting Started With AuthorIT - instructional media + magic
Getting Started With AuthorIT - instructional media + magic
Getting Started With AuthorIT - instructional media + magic
Create successful ePaper yourself
Turn your PDF publications into a flip-book with our unique Google optimized e-Paper software.
30 <strong>Getting</strong> <strong>Started</strong> <strong>With</strong> <strong>AuthorIT</strong><br />
To Add New User PCs<br />
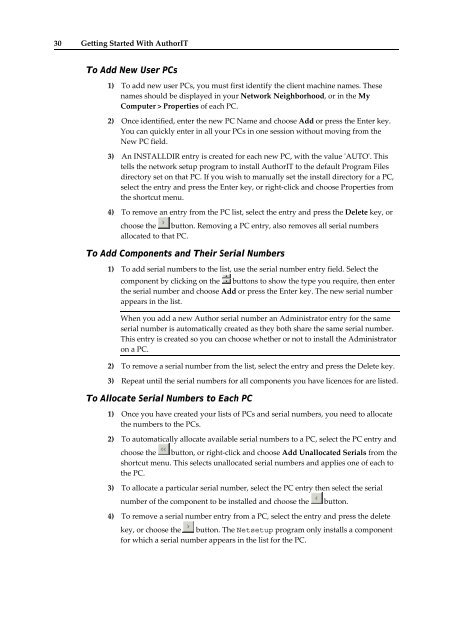
1) To add new user PCs, you must first identify the client machine names. These<br />
names should be displayed in your Network Neighborhood, or in the My<br />
Computer > Properties of each PC.<br />
2) Once identified, enter the new PC Name and choose Add or press the Enter key.<br />
You can quickly enter in all your PCs in one session without moving from the<br />
New PC field.<br />
3) An INSTALLDIR entry is created for each new PC, with the value ʹAUTOʹ. This<br />
tells the network setup program to install <strong>AuthorIT</strong> to the default Program Files<br />
directory set on that PC. If you wish to manually set the install directory for a PC,<br />
select the entry and press the Enter key, or right‐click and choose Properties from<br />
the shortcut menu.<br />
4) To remove an entry from the PC list, select the entry and press the Delete key, or<br />
choose the button. Removing a PC entry, also removes all serial numbers<br />
allocated to that PC.<br />
To Add Components and Their Serial Numbers<br />
1) To add serial numbers to the list, use the serial number entry field. Select the<br />
component by clicking on the buttons to show the type you require, then enter<br />
the serial number and choose Add or press the Enter key. The new serial number<br />
appears in the list.<br />
When you add a new Author serial number an Administrator entry for the same<br />
serial number is automatically created as they both share the same serial number.<br />
This entry is created so you can choose whether or not to install the Administrator<br />
on a PC.<br />
2) To remove a serial number from the list, select the entry and press the Delete key.<br />
3) Repeat until the serial numbers for all components you have licences for are listed.<br />
To Allocate Serial Numbers to Each PC<br />
1) Once you have created your lists of PCs and serial numbers, you need to allocate<br />
the numbers to the PCs.<br />
2) To automatically allocate available serial numbers to a PC, select the PC entry and<br />
choose the button, or right‐click and choose Add Unallocated Serials from the<br />
shortcut menu. This selects unallocated serial numbers and applies one of each to<br />
the PC.<br />
3) To allocate a particular serial number, select the PC entry then select the serial<br />
number of the component to be installed and choose the<br />
button.<br />
4) To remove a serial number entry from a PC, select the entry and press the delete<br />
key, or choose the button. The Netsetup program only installs a component<br />
for which a serial number appears in the list for the PC.


