AJA FS1 Installation and Operation Guide
AJA FS1 Installation and Operation Guide
AJA FS1 Installation and Operation Guide
Create successful ePaper yourself
Turn your PDF publications into a flip-book with our unique Google optimized e-Paper software.
26<br />
Networking the<br />
<strong>FS1</strong> using the<br />
Factory Default IP<br />
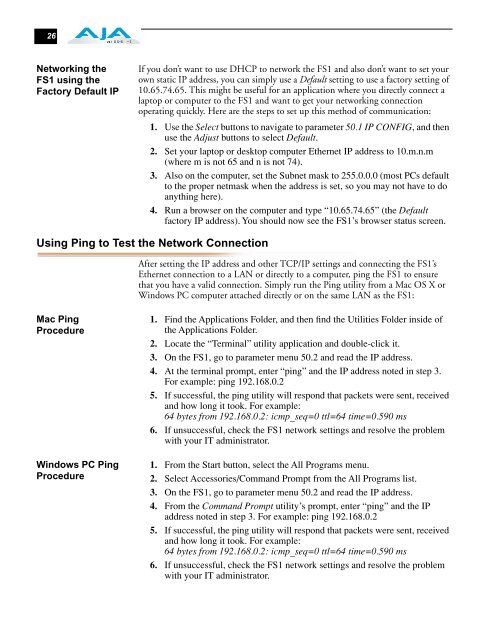
If you don’t want to use DHCP to network the <strong>FS1</strong> <strong>and</strong> also don’t want to set your<br />
own static IP address, you can simply use a Default setting to use a factory setting of<br />
10.65.74.65. This might be useful for an application where you directly connect a<br />
laptop or computer to the <strong>FS1</strong> <strong>and</strong> want to get your networking connection<br />
operating quickly. Here are the steps to set up this method of communication:<br />
1. Use the Select buttons to navigate to parameter 50.1 IP CONFIG, <strong>and</strong> then<br />
use the Adjust buttons to select Default.<br />
2. Set your laptop or desktop computer Ethernet IP address to 10.m.n.m<br />
(where m is not 65 <strong>and</strong> n is not 74).<br />
3. Also on the computer, set the Subnet mask to 255.0.0.0 (most PCs default<br />
to the proper netmask when the address is set, so you may not have to do<br />
anything here).<br />
4. Run a browser on the computer <strong>and</strong> type “10.65.74.65” (the Default<br />
factory IP address). You should now see the <strong>FS1</strong>’s browser status screen.<br />
Using Ping to Test the Network Connection<br />
Mac Ping<br />
Procedure<br />
Windows PC Ping<br />
Procedure<br />
After setting the IP address <strong>and</strong> other TCP/IP settings <strong>and</strong> connecting the <strong>FS1</strong>’s<br />
Ethernet connection to a LAN or directly to a computer, ping the <strong>FS1</strong> to ensure<br />
that you have a valid connection. Simply run the Ping utility from a Mac OS X or<br />
Windows PC computer attached directly or on the same LAN as the <strong>FS1</strong>:<br />
1. Find the Applications Folder, <strong>and</strong> then find the Utilities Folder inside of<br />
the Applications Folder.<br />
2. Locate the “Terminal” utility application <strong>and</strong> double-click it.<br />
3. On the <strong>FS1</strong>, go to parameter menu 50.2 <strong>and</strong> read the IP address.<br />
4. At the terminal prompt, enter “ping” <strong>and</strong> the IP address noted in step 3.<br />
For example: ping 192.168.0.2<br />
5. If successful, the ping utility will respond that packets were sent, received<br />
<strong>and</strong> how long it took. For example:<br />
64 bytes from 192.168.0.2: icmp_seq=0 ttl=64 time=0.590 ms<br />
6. If unsuccessful, check the <strong>FS1</strong> network settings <strong>and</strong> resolve the problem<br />
with your IT administrator.<br />
1. From the Start button, select the All Programs menu.<br />
2. Select Accessories/Comm<strong>and</strong> Prompt from the All Programs list.<br />
3. On the <strong>FS1</strong>, go to parameter menu 50.2 <strong>and</strong> read the IP address.<br />
4. From the Comm<strong>and</strong> Prompt utility’s prompt, enter “ping” <strong>and</strong> the IP<br />
address noted in step 3. For example: ping 192.168.0.2<br />
5. If successful, the ping utility will respond that packets were sent, received<br />
<strong>and</strong> how long it took. For example:<br />
64 bytes from 192.168.0.2: icmp_seq=0 ttl=64 time=0.590 ms<br />
6. If unsuccessful, check the <strong>FS1</strong> network settings <strong>and</strong> resolve the problem<br />
with your IT administrator.


