

Humminbird - Fish Finders and GPS
Humminbird - Fish Finders and GPS
Humminbird - Fish Finders and GPS

You also want an ePaper? Increase the reach of your titles
YUMPU automatically turns print PDFs into web optimized ePapers that Google loves.
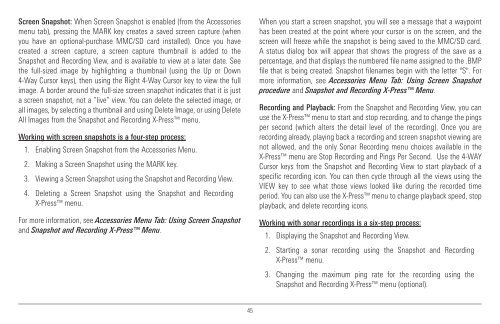
Screen Snapshot: When Screen Snapshot is enabled (from the Accessories<br />
menu tab), pressing the MARK key creates a saved screen capture (when<br />
you have an optional-purchase MMC/SD card installed). Once you have<br />
created a screen capture, a screen capture thumbnail is added to the<br />
Snapshot <strong>and</strong> Recording View, <strong>and</strong> is available to view at a later date. See<br />
the full-sized image by highlighting a thumbnail (using the Up or Down<br />
4-Way Cursor keys), then using the Right 4-Way Cursor key to view the full<br />
image. A border around the full-size screen snapshot indicates that it is just<br />
a screen snapshot, not a “live” view. You can delete the selected image, or<br />
all images, by selecting a thumbnail <strong>and</strong> using Delete Image, or using Delete<br />
All Images from the Snapshot <strong>and</strong> Recording X-Press menu.<br />
Working with screen snapshots is a four-step process:<br />
1. Enabling Screen Snapshot from the Accessories Menu.<br />
2. Making a Screen Snapshot using the MARK key.<br />
3. Viewing a Screen Snapshot using the Snapshot <strong>and</strong> Recording View.<br />
4. Deleting a Screen Snapshot using the Snapshot <strong>and</strong> Recording<br />
X-Press menu.<br />
For more information, see Accessories Menu Tab: Using Screen Snapshot<br />
<strong>and</strong> Snapshot <strong>and</strong> Recording X-Press Menu.<br />
When you start a screen snapshot, you will see a message that a waypoint<br />
has been created at the point where your cursor is on the screen, <strong>and</strong> the<br />
screen will freeze while the snapshot is being saved to the MMC/SD card.<br />
A status dialog box will appear that shows the progress of the save as a<br />
percentage, <strong>and</strong> that displays the numbered file name assigned to the .BMP<br />
file that is being created. Snapshot filenames begin with the letter "S". For<br />
more information, see Accessories Menu Tab: Using Screen Snapshot<br />
procedure <strong>and</strong> Snapshot <strong>and</strong> Recording X-Press Menu.<br />
Recording <strong>and</strong> Playback: From the Snapshot <strong>and</strong> Recording View, you can<br />
use the X-Press menu to start <strong>and</strong> stop recording, <strong>and</strong> to change the pings<br />
per second (which alters the detail level of the recording). Once you are<br />
recording already, playing back a recording <strong>and</strong> screen snapshot viewing are<br />
not allowed, <strong>and</strong> the only Sonar Recording menu choices available in the<br />
X-Press menu are Stop Recording <strong>and</strong> Pings Per Second. Use the 4-WAY<br />
Cursor keys from the Snapshot <strong>and</strong> Recording View to start playback of a<br />
specific recording icon. You can then cycle through all the views using the<br />
VIEW key to see what those views looked like during the recorded time<br />
period. You can also use the X-Press menu to change playback speed, stop<br />
playback, <strong>and</strong> delete recording icons.<br />
Working with sonar recordings is a six-step process:<br />
1. Displaying the Snapshot <strong>and</strong> Recording View.<br />
2. Starting a sonar recording using the Snapshot <strong>and</strong> Recording<br />
X-Press menu.<br />
3. Changing the maximum ping rate for the recording using the<br />
Snapshot <strong>and</strong> Recording X-Press menu (optional).<br />
45


