You also want an ePaper? Increase the reach of your titles
YUMPU automatically turns print PDFs into web optimized ePapers that Google loves.
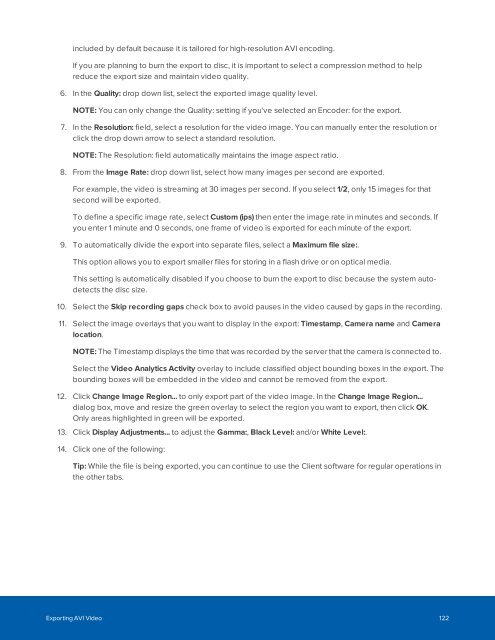
included by default because it is tailored for high-resolution AVI encoding.<br />
If you are planning to burn the export to disc, it is important to select a compression method to help<br />
reduce the export size and maintain video quality.<br />
6. In the Quality: drop down list, select the exported image quality level.<br />
NOTE: You can only change the Quality: setting if you've selected an Encoder: for the export.<br />
7. In the Resolution: field, select a resolution for the video image. You can manually enter the resolution or<br />
click the drop down arrow to select a standard resolution.<br />
NOTE: The Resolution: field automatically maintains the image aspect ratio.<br />
8. From the Image Rate: drop down list, select how many images per second are exported.<br />
For example, the video is streaming at 30 images per second. If you select 1/2, only 15 images for that<br />
second will be exported.<br />
To define a specific image rate, select Custom (ips) then enter the image rate in minutes and seconds. If<br />
you enter 1 minute and 0 seconds, one frame of video is exported for each minute of the export.<br />
9. To automatically divide the export into separate files, select a Maximum file size:.<br />
This option allows you to export smaller files for storing in a flash drive or on optical media.<br />
This setting is automatically disabled if you choose to burn the export to disc because the system autodetects<br />
the disc size.<br />
10. Select the Skip recording gaps check box to avoid pauses in the video caused by gaps in the recording.<br />
11. Select the image overlays that you want to display in the export: Timestamp, Camera name and Camera<br />
location.<br />
NOTE: The Timestamp displays the time that was recorded by the server that the camera is connected to.<br />
Select the Video Analytics Activity overlay to include classified object bounding boxes in the export. The<br />
bounding boxes will be embedded in the video and cannot be removed from the export.<br />
12. Click Change Image Region... to only export part of the video image. In the Change Image Region...<br />
dialog box, move and resize the green overlay to select the region you want to export, then click OK.<br />
Only areas highlighted in green will be exported.<br />
13. Click Display Adjustments... to adjust the Gamma:, Black Level: and/or White Level:.<br />
14. Click one of the following:<br />
Tip: While the file is being exported, you can continue to use the Client software for regular operations in<br />
the other tabs.<br />
Exporting AVI Video 122


