
Create successful ePaper yourself
Turn your PDF publications into a flip-book with our unique Google optimized e-Paper software.
4. Enter the Time Range you want to export. The Time Range is highlighted on the Timeline by black time<br />
range markers. You can also drag the time range markers to modify the time range.<br />
5. (JPEG only) In the Quality: drop down list, select the exported image quality level.<br />
6. In the Resolution: field, select a resolution for the video image. You can manually enter the resolution or<br />
click the drop down arrow to select a standard resolution.<br />
NOTE: The Resolution: field automatically maintains the image aspect ratio.<br />
7. From the Image Rate: drop down list, select how many images per second are exported.<br />
For example, the video is streaming at 30 images per second. If you select 1/2, only 15 images for that<br />
second will be exported.<br />
To define a specific image rate, select Custom (ips) then enter the image rate in minutes and seconds. If<br />
you enter 1 minute and 0 seconds, one frame of video is exported for each minute of the export.<br />
8. To limit the number of images that are exported, enter a maximum number in the Images to Export: field<br />
or use the default Unlimited setting.<br />
The export stops when the maximum number is reached, or when the end of the export time range is<br />
reached.<br />
9. Select the image overlays that you want to display in the export: Timestamp, Camera name and Camera<br />
location.<br />
NOTE: The Timestamp displays the time that was recorded by the server that the camera is connected to.<br />
10. Click Change Image Region... to only export part of the video image. In the Change Image Region...<br />
dialog box, move and resize the green overlay to select the region you want to export, then click OK.<br />
Only areas highlighted in green will be exported.<br />
11. Click Display Adjustments... to adjust the Gamma:, Black Level: and/or White Level:.<br />
12. Click Start Export.<br />
13. In the Save As dialog box, name the export file and click Save.<br />
The Preview area displays the video you are exporting.<br />
14. When the export is complete, click OK.<br />
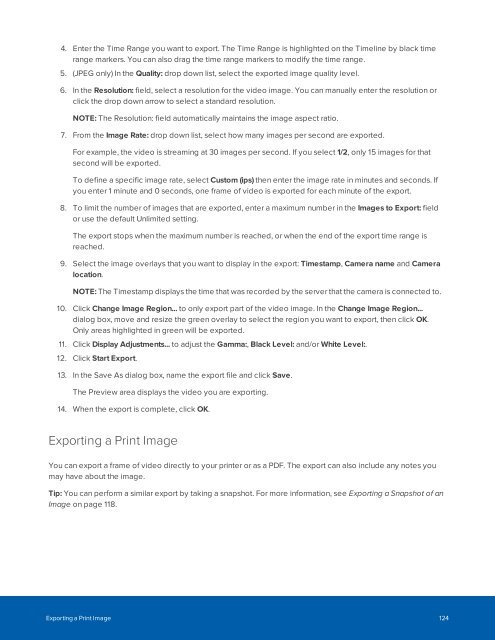
Exporting a Print Image<br />
You can export a frame of video directly to your printer or as a PDF. The export can also include any notes you<br />
may have about the image.<br />
Tip: You can perform a similar export by taking a snapshot. For more information, see Exporting a Snapshot of an<br />
Image on page 118.<br />
Exporting a Print Image 124