Tweaking Optimizing Windows.pdf - GEGeek
Tweaking Optimizing Windows.pdf - GEGeek
Tweaking Optimizing Windows.pdf - GEGeek
You also want an ePaper? Increase the reach of your titles
YUMPU automatically turns print PDFs into web optimized ePapers that Google loves.
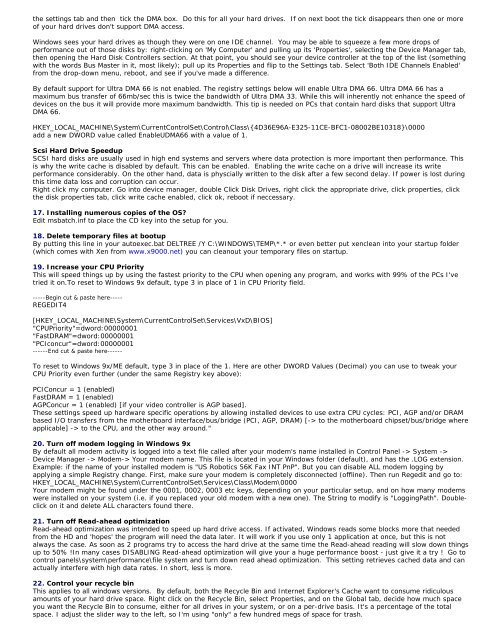
the settings tab and then tick the DMA box. Do this for all your hard drives. If on next boot the tick disappears then one or more<br />
of your hard drives don't support DMA access.<br />
<strong>Windows</strong> sees your hard drives as though they were on one IDE channel. You may be able to squeeze a few more drops of<br />
performance out of those disks by: right-clicking on 'My Computer' and pulling up its 'Properties', selecting the Device Manager tab,<br />
then opening the Hard Disk Controllers section. At that point, you should see your device controller at the top of the list (something<br />
with the words Bus Master in it, most likely); pull up its Properties and flip to the Settings tab. Select 'Both IDE Channels Enabled'<br />
from the drop-down menu, reboot, and see if you've made a difference.<br />
By default support for Ultra DMA 66 is not enabled. The registry settings below will enable Ultra DMA 66. Ultra DMA 66 has a<br />
maximum bus transfer of 66mb/sec this is twice the bandwidth of Ultra DMA 33. While this will inherently not enhance the speed of<br />
devices on the bus it will provide more maximum bandwidth. This tip is needed on PCs that contain hard disks that support Ultra<br />
DMA 66.<br />
HKEY_LOCAL_MACHINE\System\CurrentControlSet\Control\Class\{4D36E96A-E325-11CE-BFC1-08002BE10318}\0000<br />
add a new DWORD value called EnableUDMA66 with a value of 1.<br />
Scsi Hard Drive Speedup<br />
SCSI hard disks are usually used in high end systems and servers where data protection is more important then performance. This<br />
is why the write cache is disabled by default. This can be enabled. Enabling the write cache on a drive will increase its write<br />
performance considerably. On the other hand, data is physcially written to the disk after a few second delay. If power is lost during<br />
this time data loss and corruption can occur.<br />
Right click my computer. Go into device manager, double Click Disk Drives, right click the appropriate drive, click properties, click<br />
the disk properties tab, click write cache enabled, click ok, reboot if neccessary.<br />
17. Installing numerous copies of the OS?<br />
Edit msbatch.inf to place the CD key into the setup for you.<br />
18. Delete temporary files at bootup<br />
By putting this line in your autoexec.bat DELTREE /Y C:\WINDOWS\TEMP\*.* or even better put xenclean into your startup folder<br />
(which comes with Xen from www.x9000.net) you can cleanout your temporary files on startup.<br />
19. Increase your CPU Priority<br />
This will speed things up by using the fastest priority to the CPU when opening any program, and works with 99% of the PCs I've<br />
tried it on.To reset to <strong>Windows</strong> 9x default, type 3 in place of 1 in CPU Priority field.<br />
-----Begin cut & paste here-----<br />
REGEDIT4<br />
[HKEY_LOCAL_MACHINE\System\CurrentControlSet\Services\VxD\BIOS]<br />
"CPUPriority"=dword:00000001<br />
"FastDRAM"=dword:00000001<br />
"PCIconcur"=dword:00000001<br />
------End cut & paste here------<br />
To reset to <strong>Windows</strong> 9x/ME default, type 3 in place of the 1. Here are other DWORD Values (Decimal) you can use to tweak your<br />
CPU Priority even further (under the same Registry key above):<br />
PCIConcur = 1 (enabled)<br />
FastDRAM = 1 (enabled)<br />
AGPConcur = 1 (enabled) [if your video controller is AGP based].<br />
These settings speed up hardware specific operations by allowing installed devices to use extra CPU cycles: PCI, AGP and/or DRAM<br />
based I/O transfers from the motherboard interface/bus/bridge (PCI, AGP, DRAM) [-> to the motherboard chipset/bus/bridge where<br />
applicable] -> to the CPU, and the other way around."<br />
20. Turn off modem logging in <strong>Windows</strong> 9x<br />
By default all modem activity is logged into a text file called after your modem's name installed in Control Panel -> System -><br />
Device Manager -> Modem-> Your modem name. This file is located in your <strong>Windows</strong> folder (default), and has the .LOG extension.<br />
Example: if the name of your installed modem is "US Robotics 56K Fax INT PnP". But you can disable ALL modem logging by<br />
applying a simple Registry change. First, make sure your modem is completely disconnected (offline). Then run Regedit and go to:<br />
HKEY_LOCAL_MACHINE\System\CurrentControlSet\Services\Class\Modem\0000<br />
Your modem might be found under the 0001, 0002, 0003 etc keys, depending on your particular setup, and on how many modems<br />
were installed on your system (i.e. if you replaced your old modem with a new one). The String to modify is "LoggingPath". Doubleclick<br />
on it and delete ALL characters found there.<br />
21. Turn off Read-ahead optimization<br />
Read-ahead optimization was intended to speed up hard drive access. If activated, <strong>Windows</strong> reads some blocks more that needed<br />
from the HD and 'hopes' the program will need the data later. It will work if you use only 1 application at once, but this is not<br />
always the case. As soon as 2 programs try to access the hard drive at the same time the Read-ahead reading will slow down things<br />
up to 50% !In many cases DISABLING Read-ahead optimization will give your a huge performance boost - just give it a try ! Go to<br />
control panels\system\performance\file system and turn down read ahead optimization. This setting retrieves cached data and can<br />
actually interfere with high data rates. In short, less is more.<br />
22. Control your recycle bin<br />
This applies to all windows versions. By default, both the Recycle Bin and Internet Explorer's Cache want to consume ridiculous<br />
amounts of your hard drive space. Right click on the Recycle Bin, select Properties, and on the Global tab, decide how much space<br />
you want the Recycle Bin to consume, either for all drives in your system, or on a per-drive basis. It's a percentage of the total<br />
space. I adjust the slider way to the left, so I'm using "only" a few hundred megs of space for trash.


