Tsunami MP.11 Installation and Management Model 5012-SUR ...
Tsunami MP.11 Installation and Management Model 5012-SUR ...
Tsunami MP.11 Installation and Management Model 5012-SUR ...

Create successful ePaper yourself
Turn your PDF publications into a flip-book with our unique Google optimized e-Paper software.
<strong>Installation</strong> <strong>and</strong> Initialization <strong>Tsunami</strong> <strong>MP.11</strong> <strong>5012</strong>-<strong>SUR</strong> <strong>Installation</strong> <strong>and</strong> <strong>Management</strong><br />
<strong>Installation</strong> Procedure<br />
<strong>Installation</strong> Procedure<br />
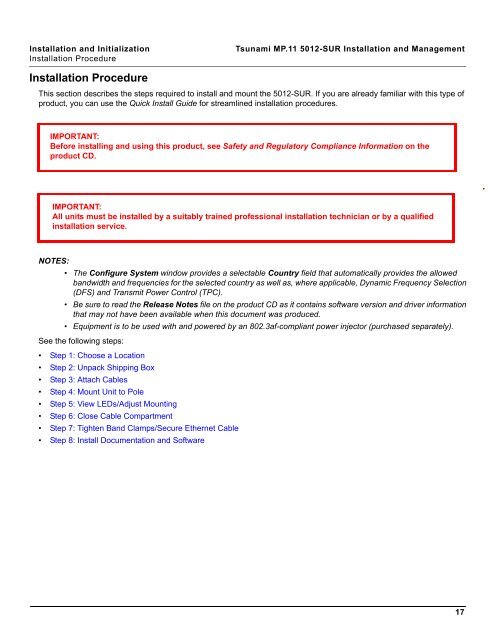
This section describes the steps required to install <strong>and</strong> mount the <strong>5012</strong>-<strong>SUR</strong>. If you are already familiar with this type of<br />
product, you can use the Quick Install Guide for streamlined installation procedures.<br />
IMPORTANT:<br />
Before installing <strong>and</strong> using this product, see Safety <strong>and</strong> Regulatory Compliance Information on the<br />
product CD.<br />
IMPORTANT:<br />
All units must be installed by a suitably trained professional installation technician or by a qualified<br />
installation service.<br />
NOTES:<br />
• The Configure System window provides a selectable Country field that automatically provides the allowed<br />
b<strong>and</strong>width <strong>and</strong> frequencies for the selected country as well as, where applicable, Dynamic Frequency Selection<br />
(DFS) <strong>and</strong> Transmit Power Control (TPC).<br />
• Be sure to read the Release Notes file on the product CD as it contains software version <strong>and</strong> driver information<br />
that may not have been available when this document was produced.<br />
• Equipment is to be used with <strong>and</strong> powered by an 802.3af-compliant power injector (purchased separately).<br />
See the following steps:<br />
• Step 1: Choose a Location<br />
• Step 2: Unpack Shipping Box<br />
• Step 3: Attach Cables<br />
• Step 4: Mount Unit to Pole<br />
• Step 5: View LEDs/Adjust Mounting<br />
• Step 6: Close Cable Compartment<br />
• Step 7: Tighten B<strong>and</strong> Clamps/Secure Ethernet Cable<br />
• Step 8: Install Documentation <strong>and</strong> Software<br />
17