DocAve 6 Service Pack 3 Control Panel Reference Guide - AvePoint
DocAve 6 Service Pack 3 Control Panel Reference Guide - AvePoint
DocAve 6 Service Pack 3 Control Panel Reference Guide - AvePoint
Create successful ePaper yourself
Turn your PDF publications into a flip-book with our unique Google optimized e-Paper software.
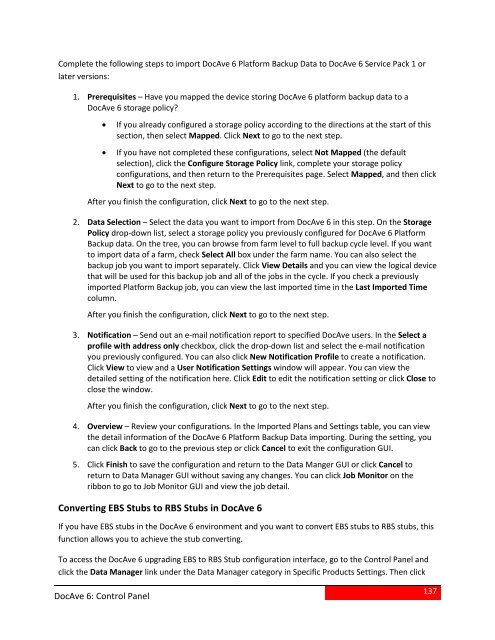
Complete the following steps to import <strong>DocAve</strong> 6 Platform Backup Data to <strong>DocAve</strong> 6 <strong>Service</strong> <strong>Pack</strong> 1 orlater versions:1. Prerequisites – Have you mapped the device storing <strong>DocAve</strong> 6 platform backup data to a<strong>DocAve</strong> 6 storage policy?• If you already configured a storage policy according to the directions at the start of thissection, then select Mapped. Click Next to go to the next step.• If you have not completed these configurations, select Not Mapped (the defaultselection), click the Configure Storage Policy link, complete your storage policyconfigurations, and then return to the Prerequisites page. Select Mapped, and then clickNext to go to the next step.After you finish the configuration, click Next to go to the next step.2. Data Selection – Select the data you want to import from <strong>DocAve</strong> 6 in this step. On the StoragePolicy drop-down list, select a storage policy you previously configured for <strong>DocAve</strong> 6 PlatformBackup data. On the tree, you can browse from farm level to full backup cycle level. If you wantto import data of a farm, check Select All box under the farm name. You can also select thebackup job you want to import separately. Click View Details and you can view the logical devicethat will be used for this backup job and all of the jobs in the cycle. If you check a previouslyimported Platform Backup job, you can view the last imported time in the Last Imported Timecolumn.After you finish the configuration, click Next to go to the next step.3. Notification – Send out an e-mail notification report to specified <strong>DocAve</strong> users. In the Select aprofile with address only checkbox, click the drop-down list and select the e-mail notificationyou previously configured. You can also click New Notification Profile to create a notification.Click View to view and a User Notification Settings window will appear. You can view thedetailed setting of the notification here. Click Edit to edit the notification setting or click Close toclose the window.After you finish the configuration, click Next to go to the next step.4. Overview – Review your configurations. In the Imported Plans and Settings table, you can viewthe detail information of the <strong>DocAve</strong> 6 Platform Backup Data importing. During the setting, youcan click Back to go to the previous step or click Cancel to exit the configuration GUI.5. Click Finish to save the configuration and return to the Data Manger GUI or click Cancel toreturn to Data Manager GUI without saving any changes. You can click Job Monitor on theribbon to go to Job Monitor GUI and view the job detail.Converting EBS Stubs to RBS Stubs in <strong>DocAve</strong> 6If you have EBS stubs in the <strong>DocAve</strong> 6 environment and you want to convert EBS stubs to RBS stubs, thisfunction allows you to achieve the stub converting.To access the <strong>DocAve</strong> 6 upgrading EBS to RBS Stub configuration interface, go to the <strong>Control</strong> <strong>Panel</strong> andclick the Data Manager link under the Data Manager category in Specific Products Settings. Then click<strong>DocAve</strong> 6: <strong>Control</strong> <strong>Panel</strong>137


